This is an awesome project for anyone who likes to be warm and look good too. Whether your sitting on the beach on a chilly summer night or need to go outside with 5 ft of snow on the ground, you need one.
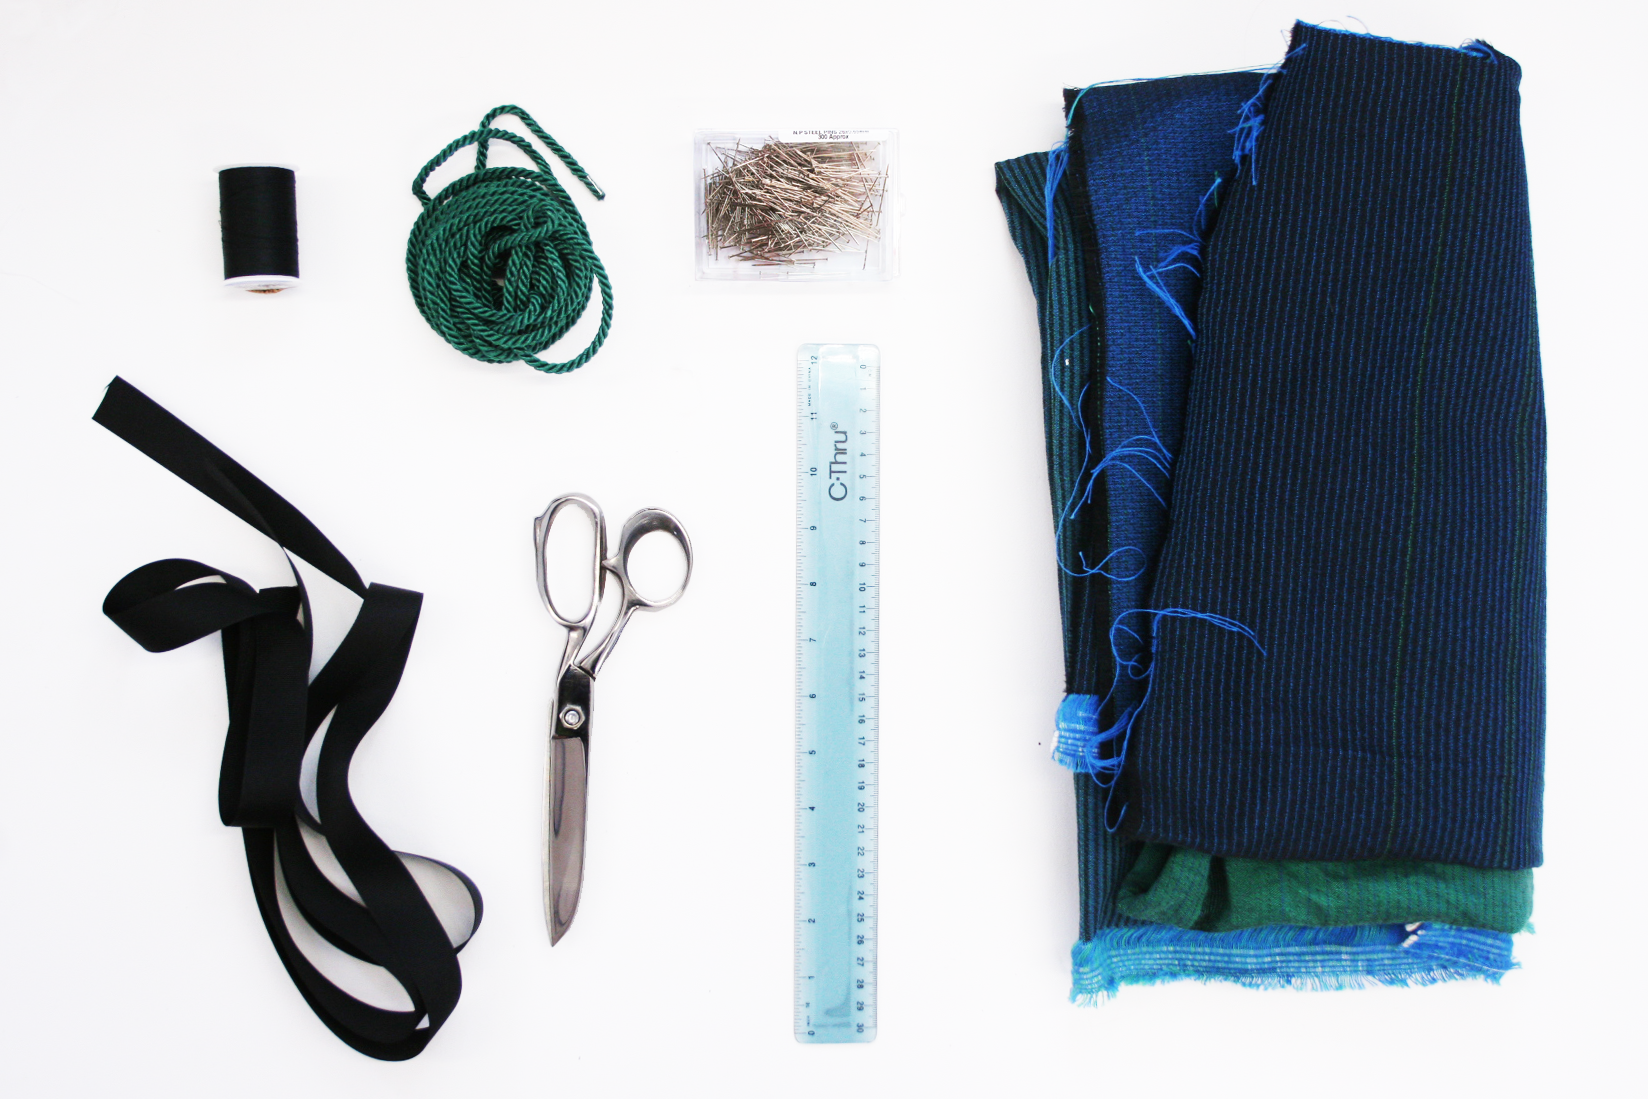
Materials:
Step 1
Measure out 2 pieces of fabric both 32″h x 48″w(width of fabric) make sure that the fringe is on the 32″ side! Place both pieces of the fabric on top of each other, with the right side of the fabrics on the inside.

Tip*
The measurement 32″ contributes to the sleeve measurement, I am 5′ 10″ and it hits me slightly below my wrists. If you prefer a longer over sized look, consider adding 2″ or if you are on the petite side you may want to take 2″ off. It’s your poncho do what your heart desires.
Step 2
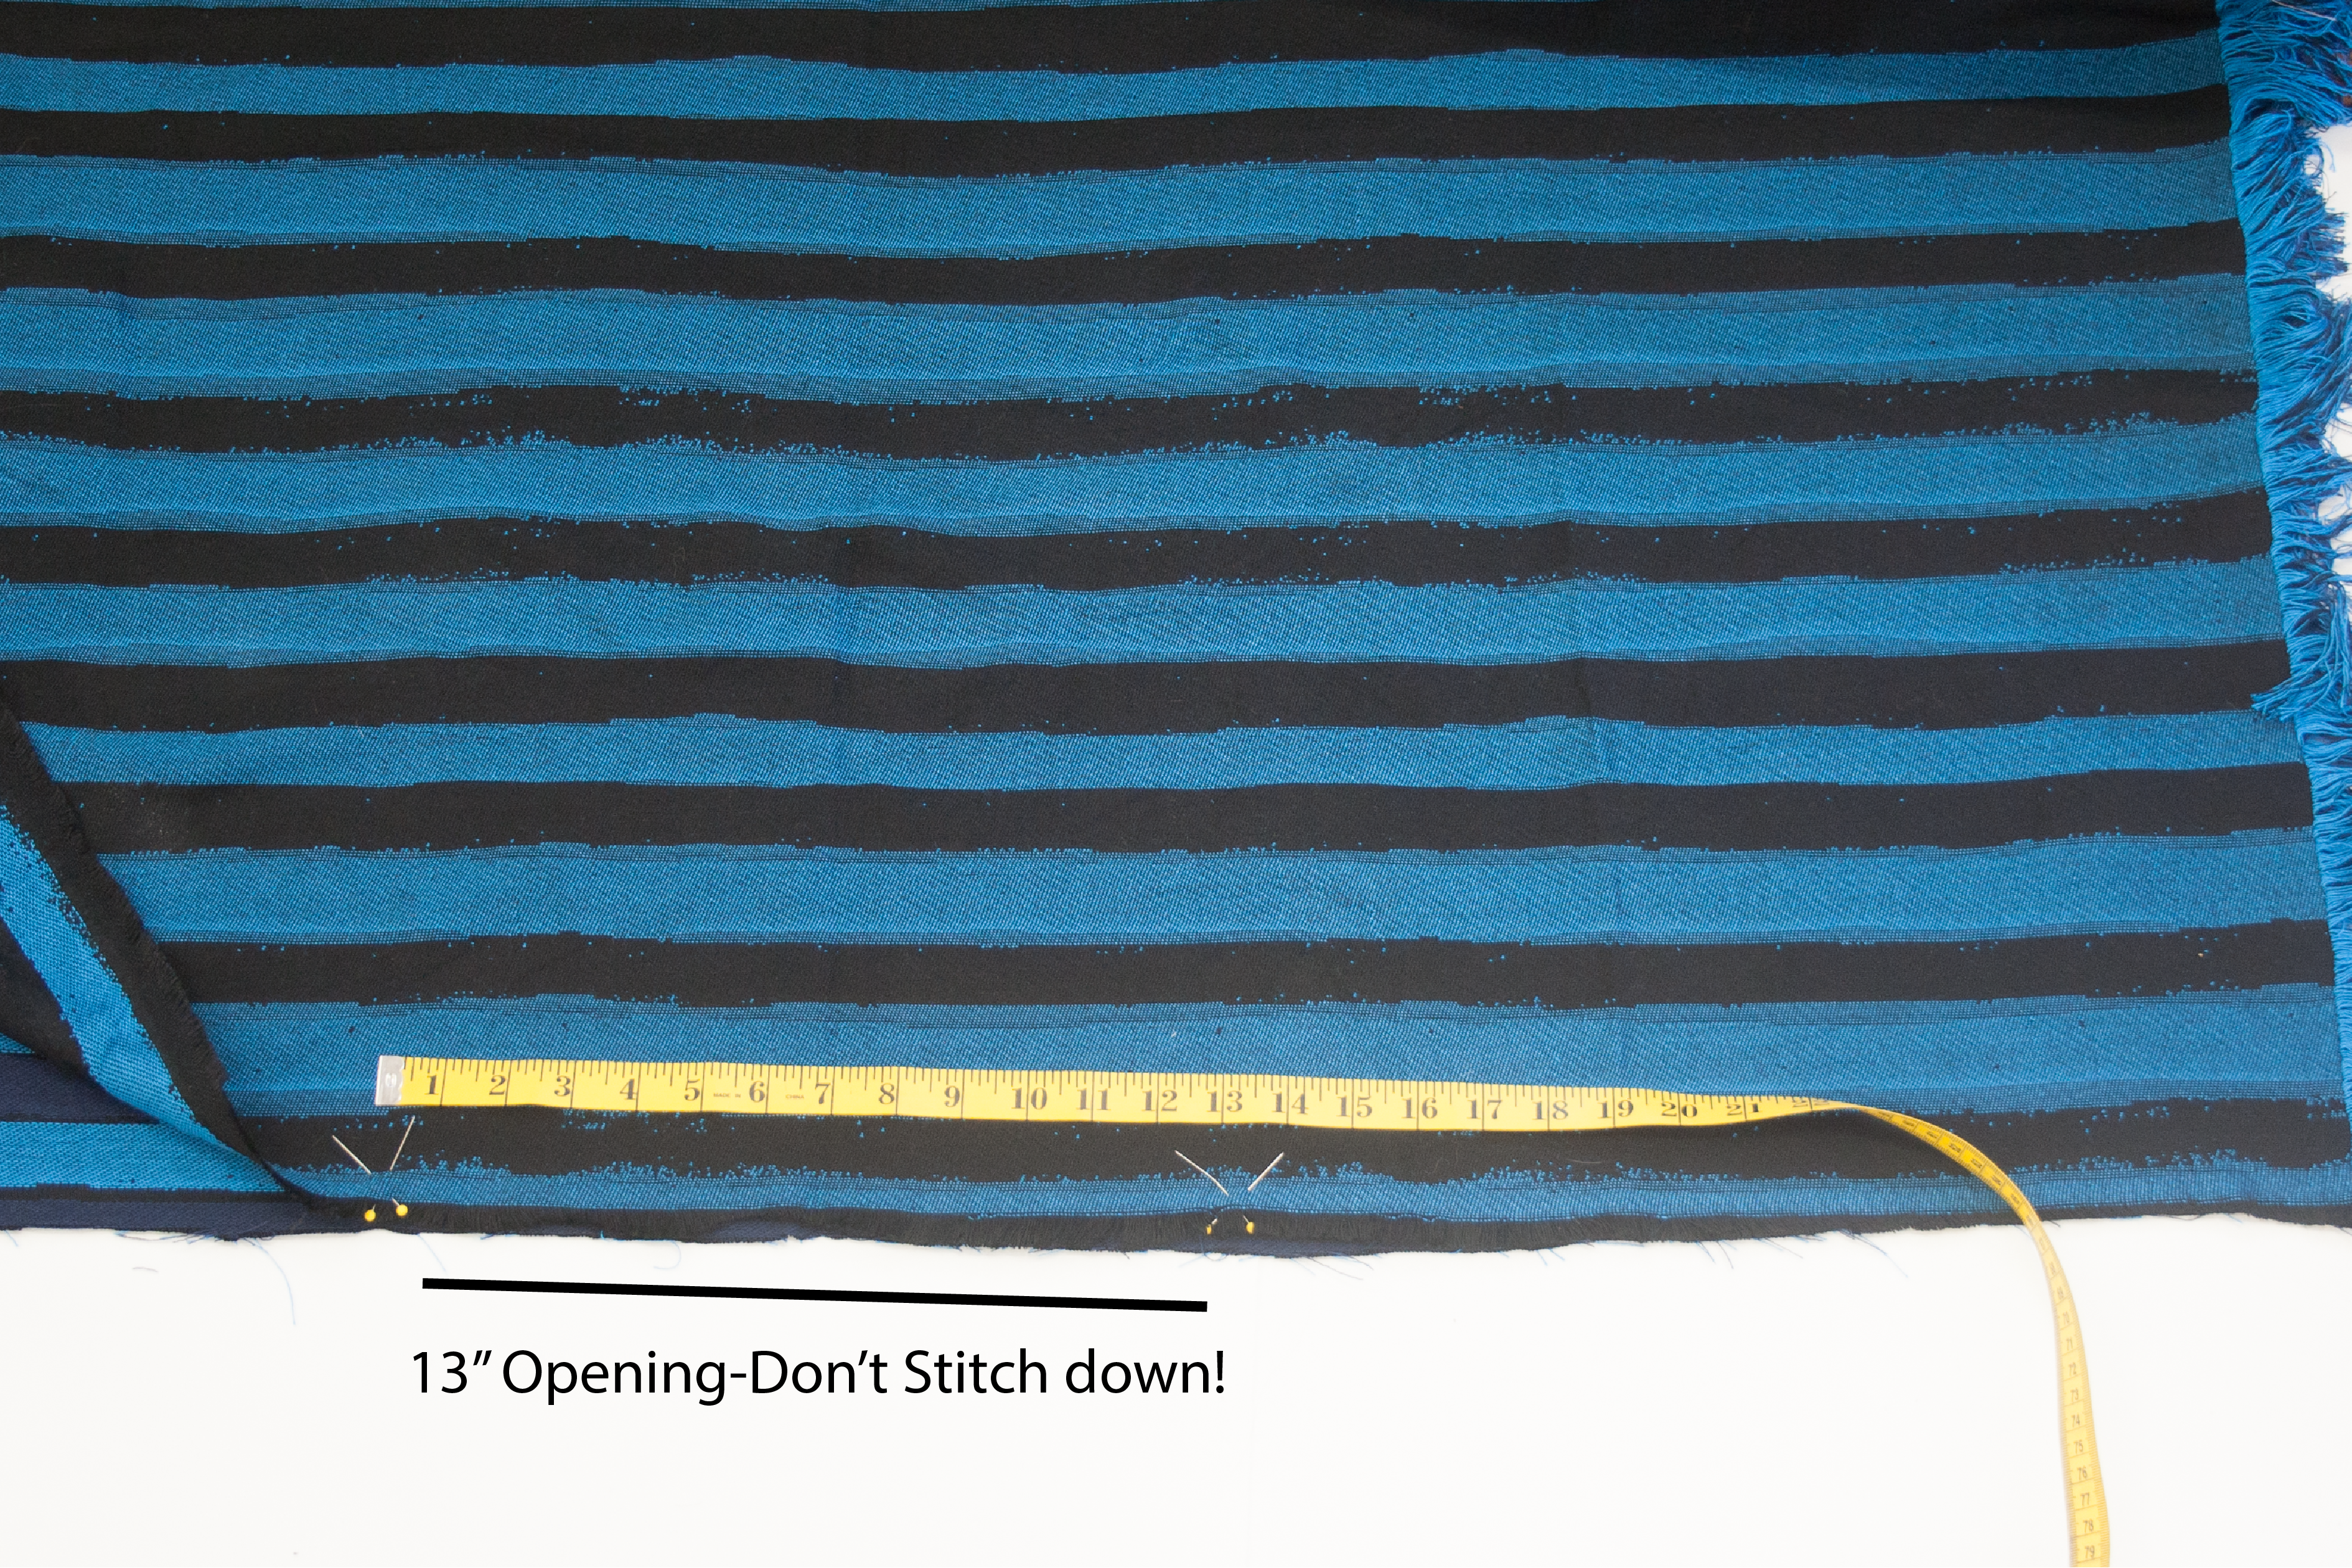
Measure off 13.5 inches from the middle of one side (the side that you want to be the center front and center back of your poncho).
Step 3
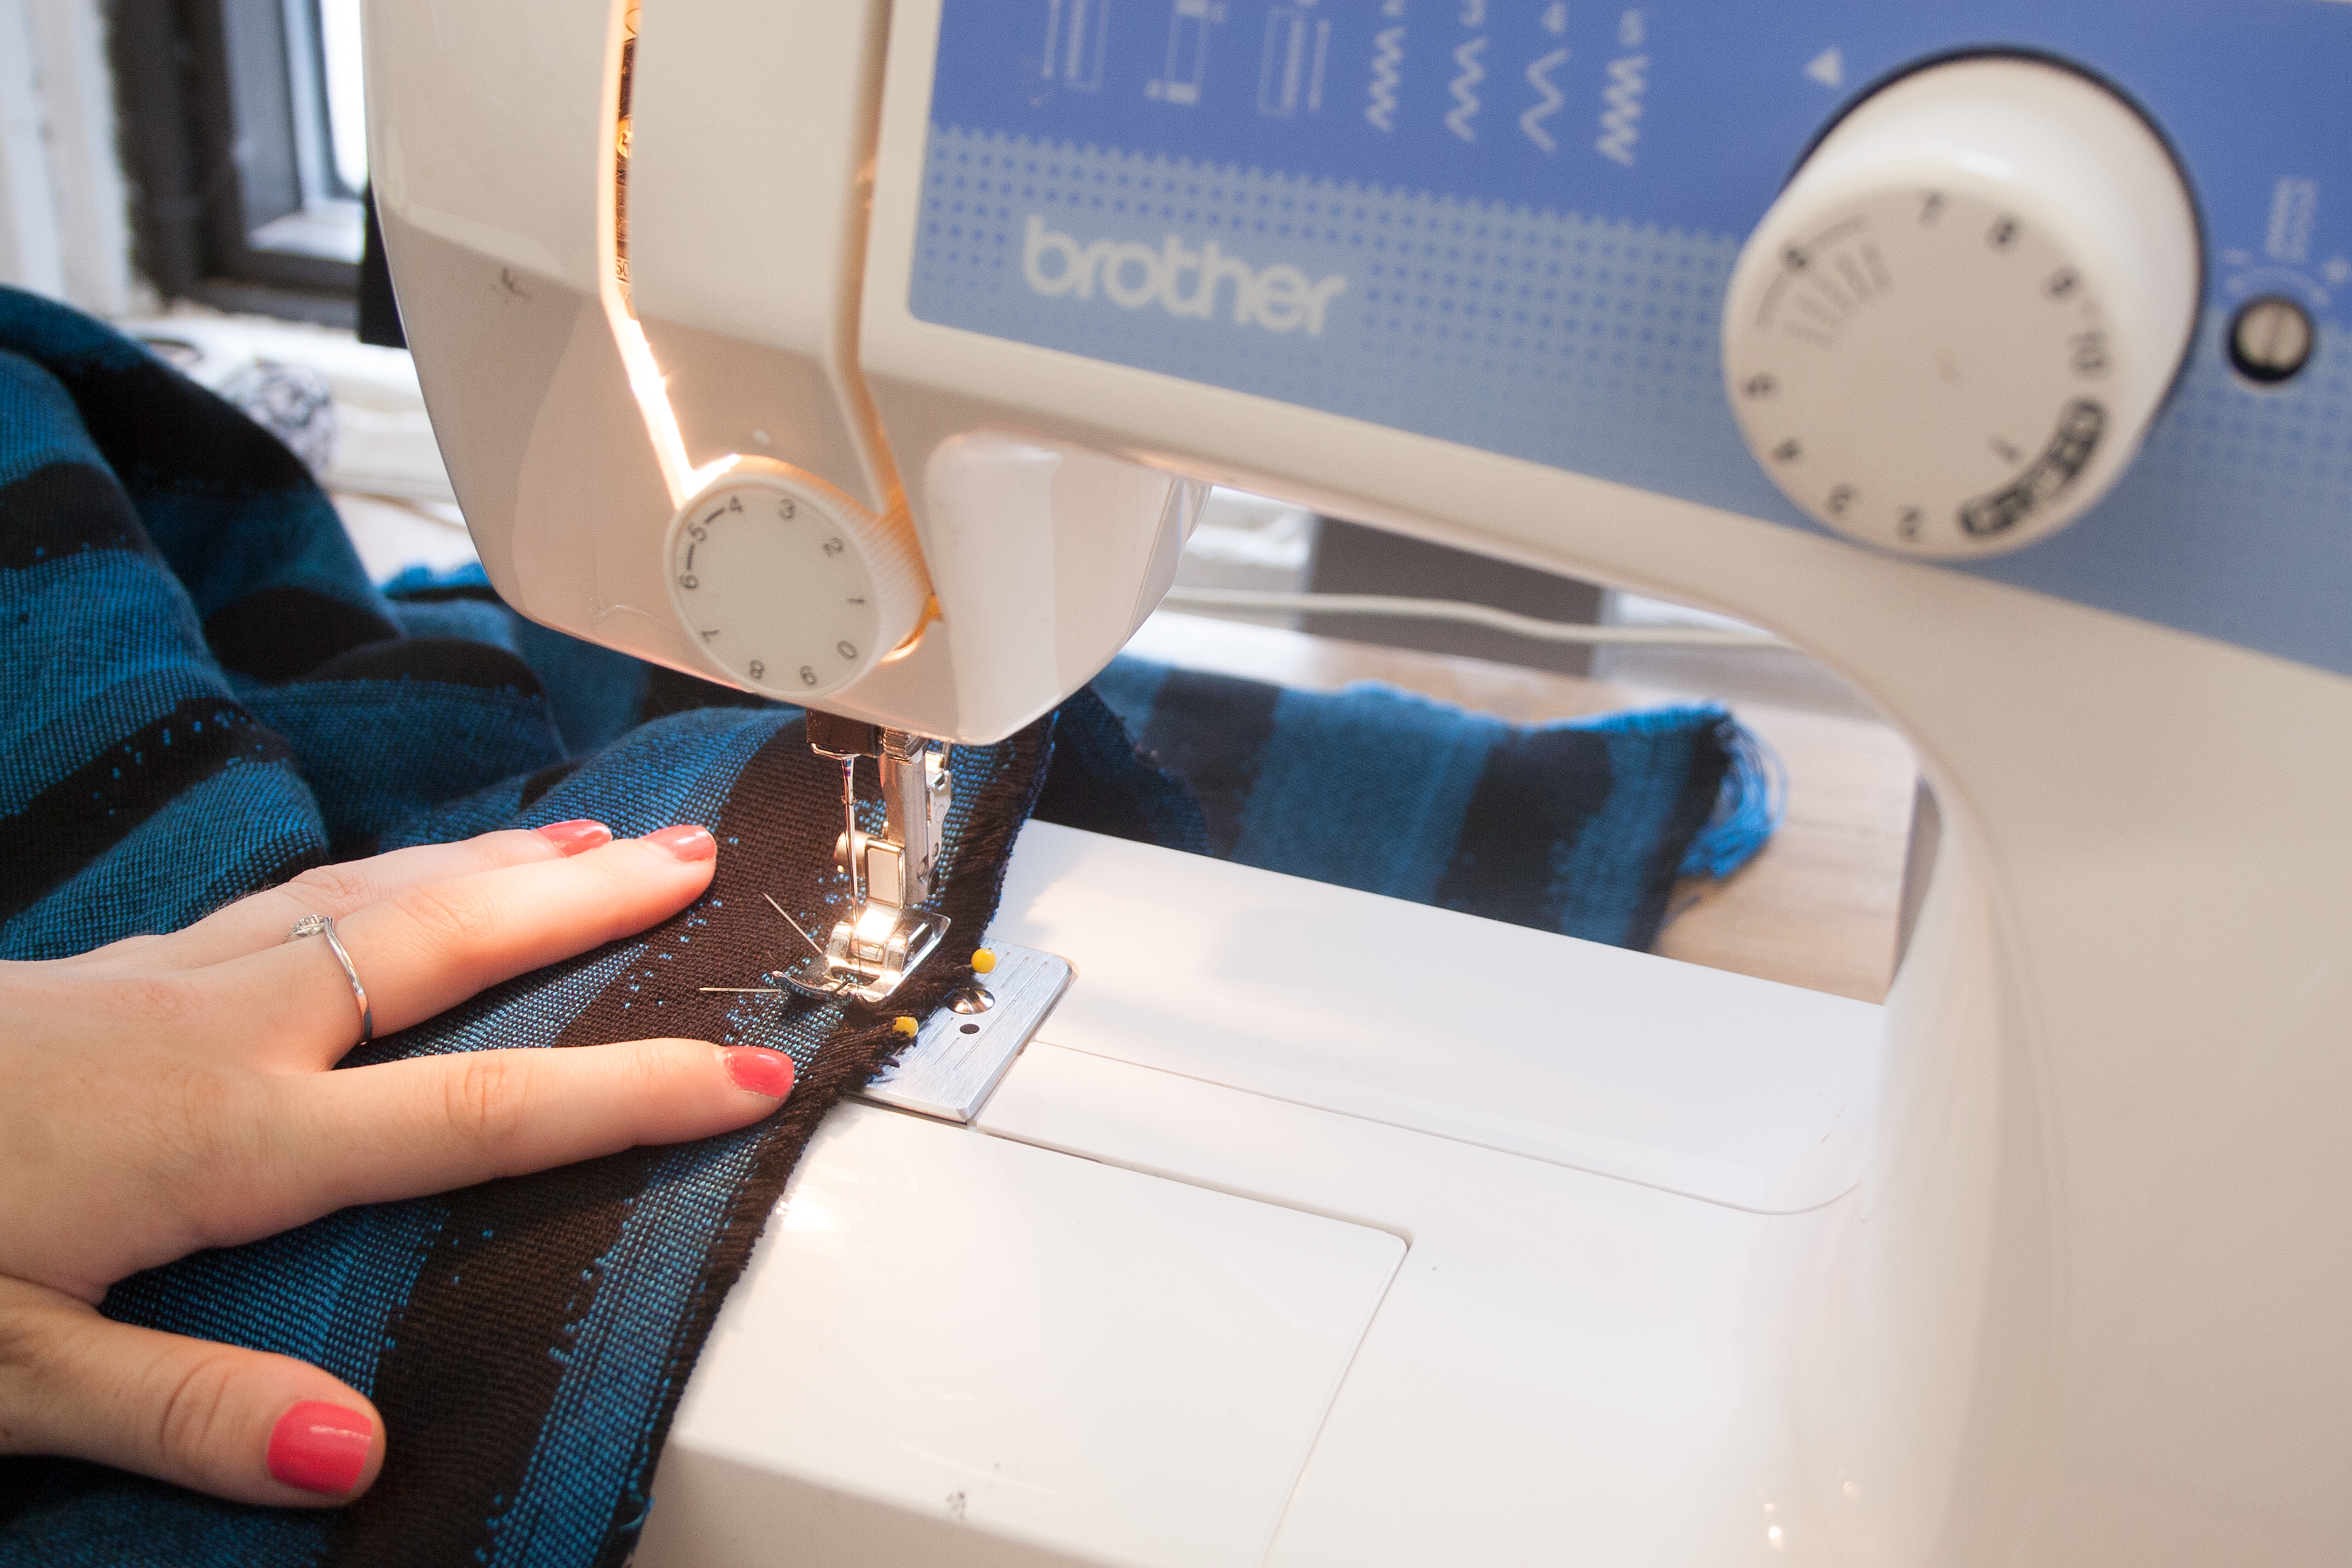
Sew the side together , but do not sew within the 13.5 inches you just measured off. That is your head opening.
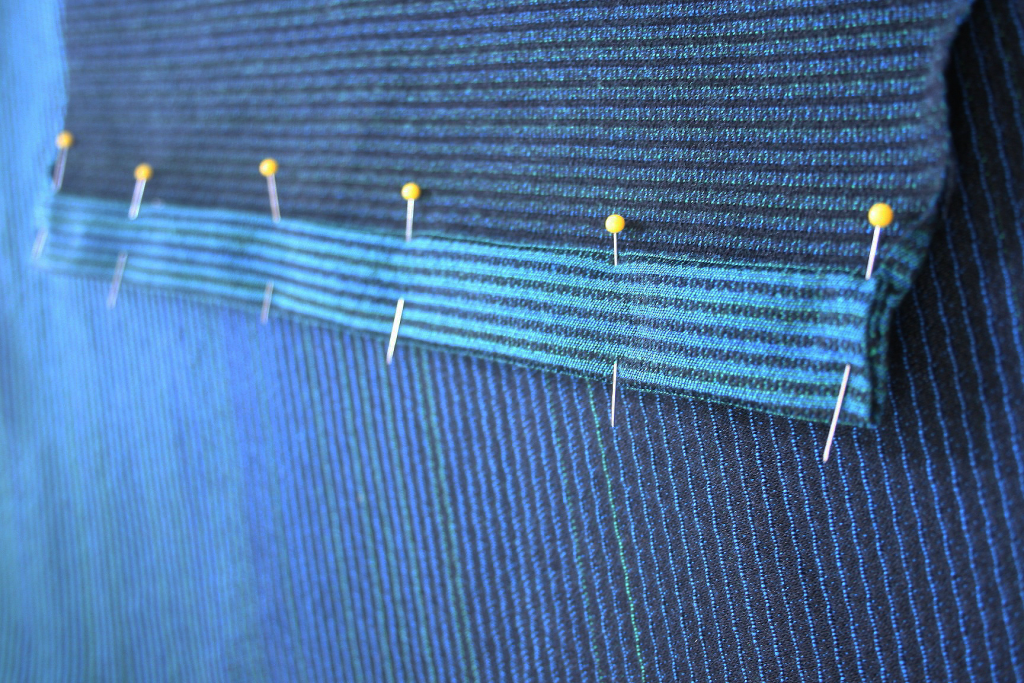
Step 4
Open up the poncho. The sides (with out the fringe) your going to fold .5 towards the inside and then another.5 inches. This is so the edge is finished and doesn’t keep fraying.
Step 5
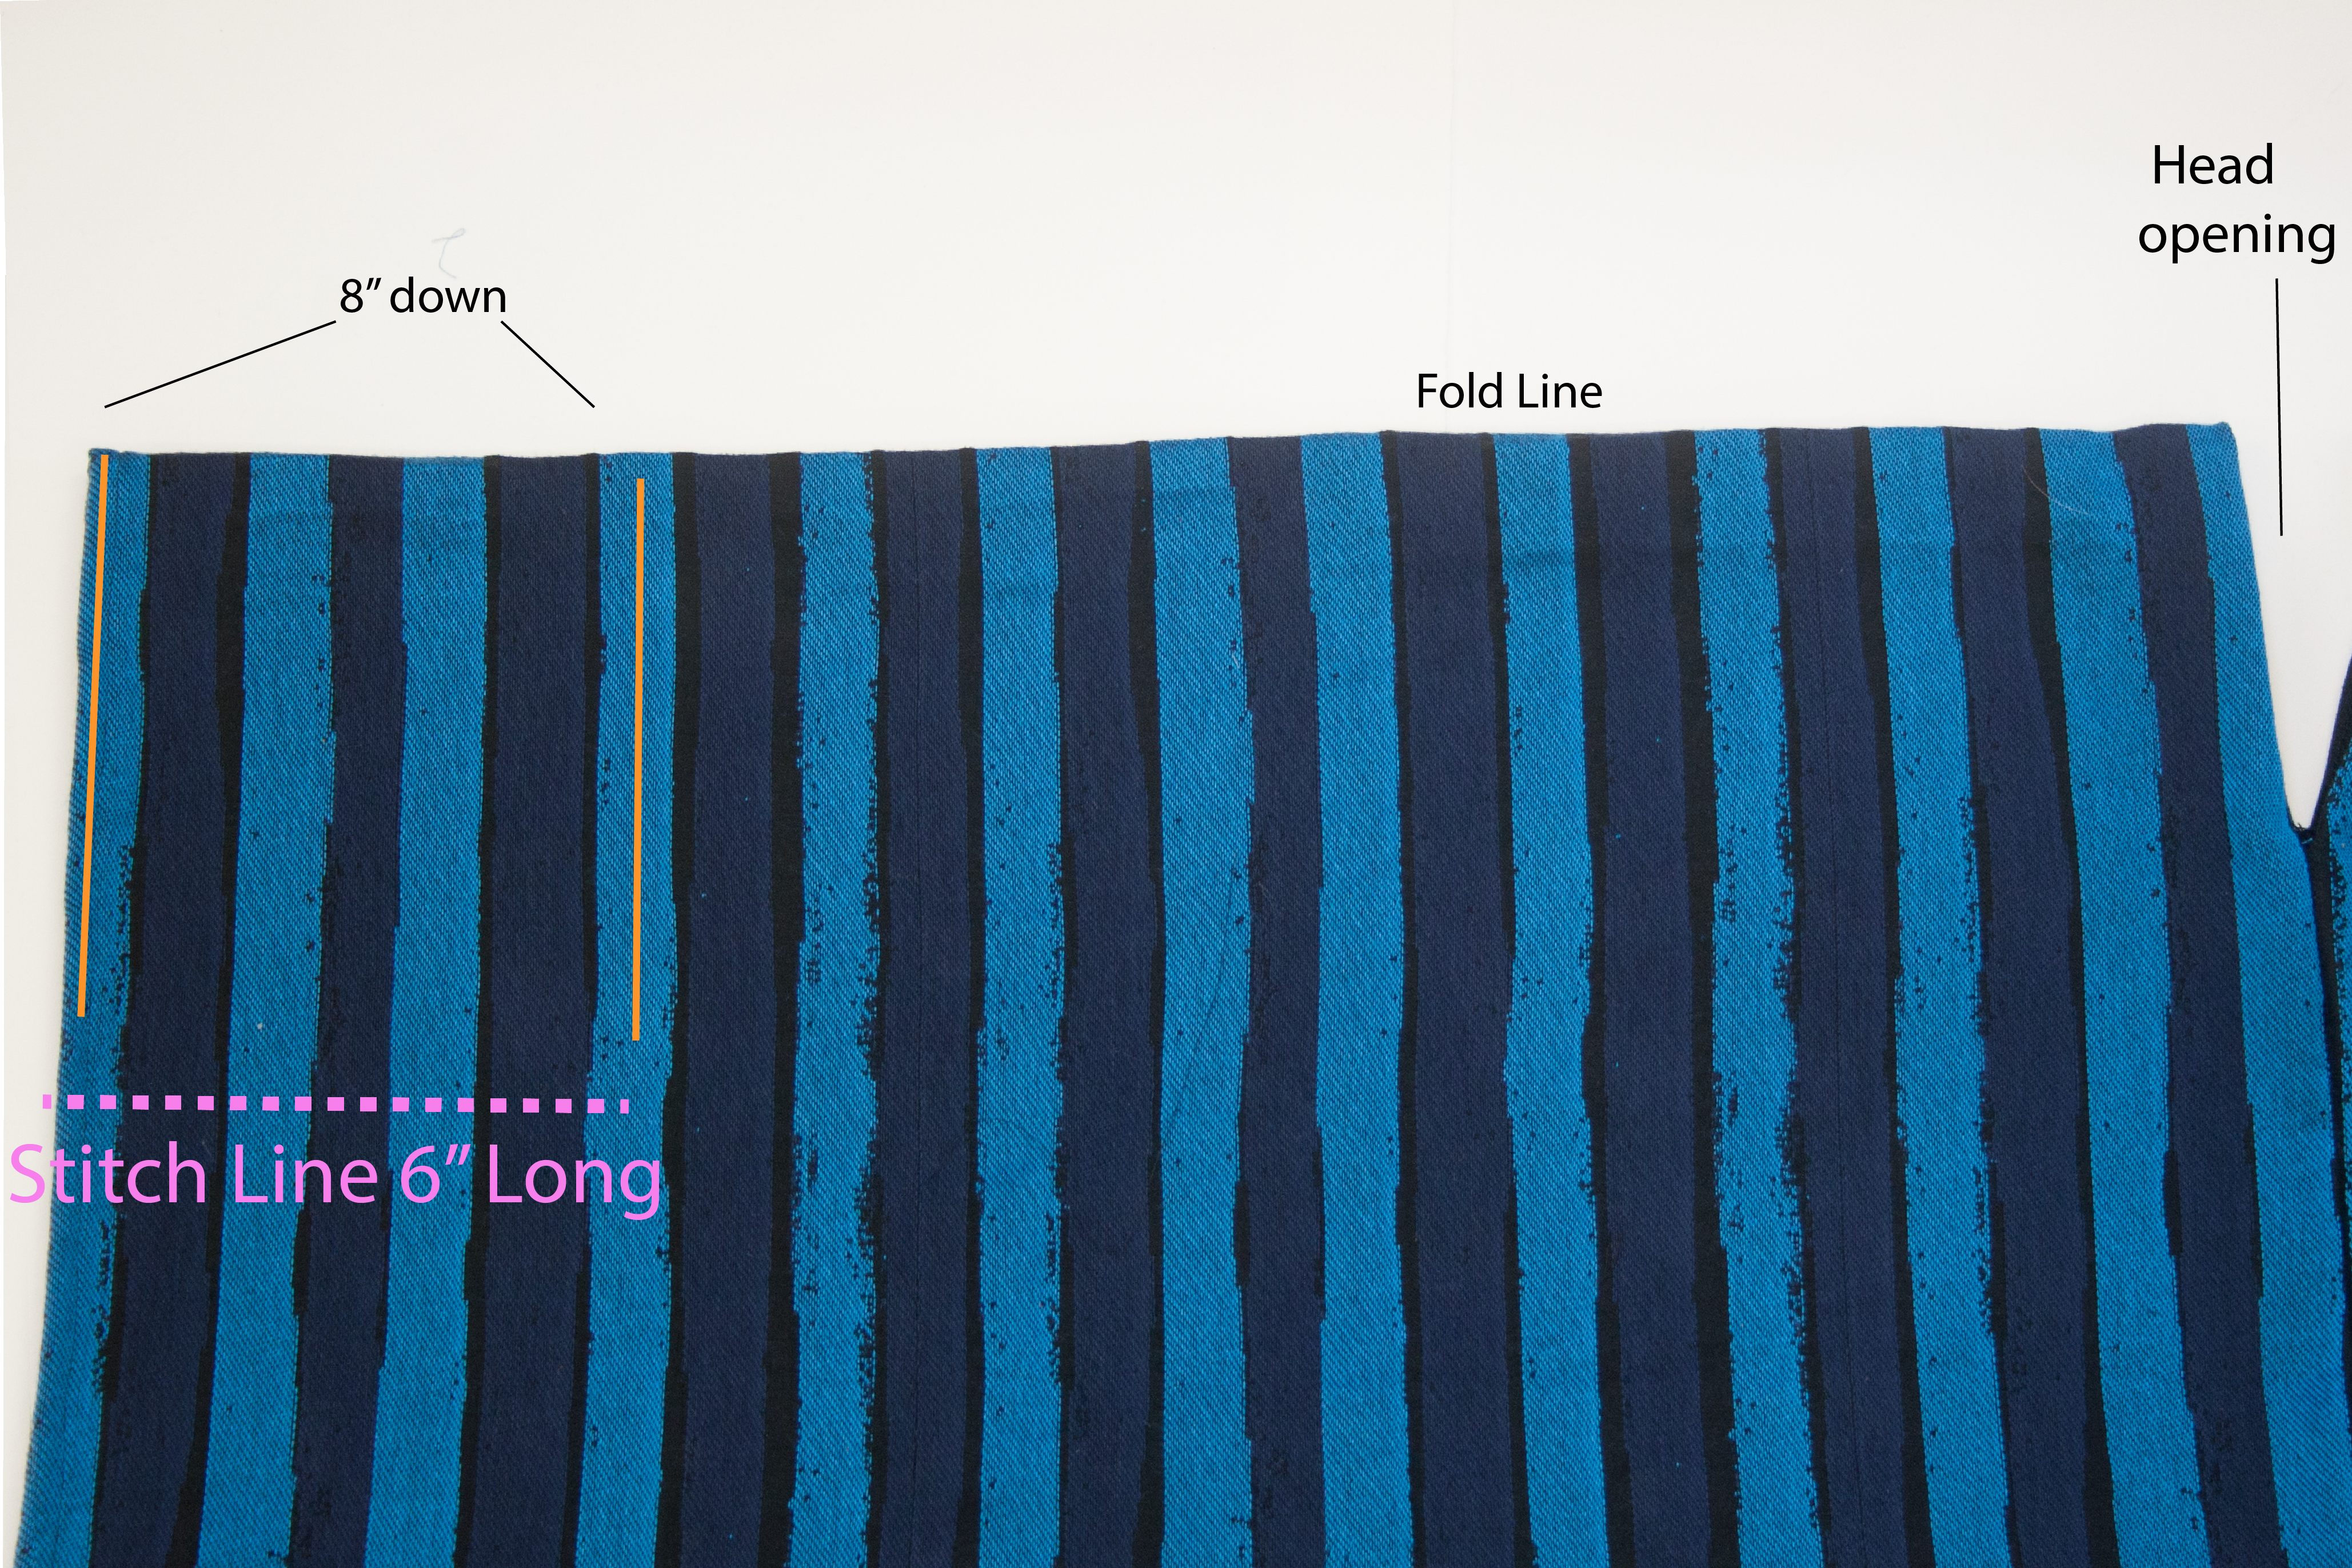
Next fold the piece of fabric in half so that the opening is at the top and the seam is going through the middle with the fringe along the bottom. Measure off 8″ from the top right and left corner down and from that point you are going to start stitching 6″ long. See diagram. This will be your arm opening.
Step 6
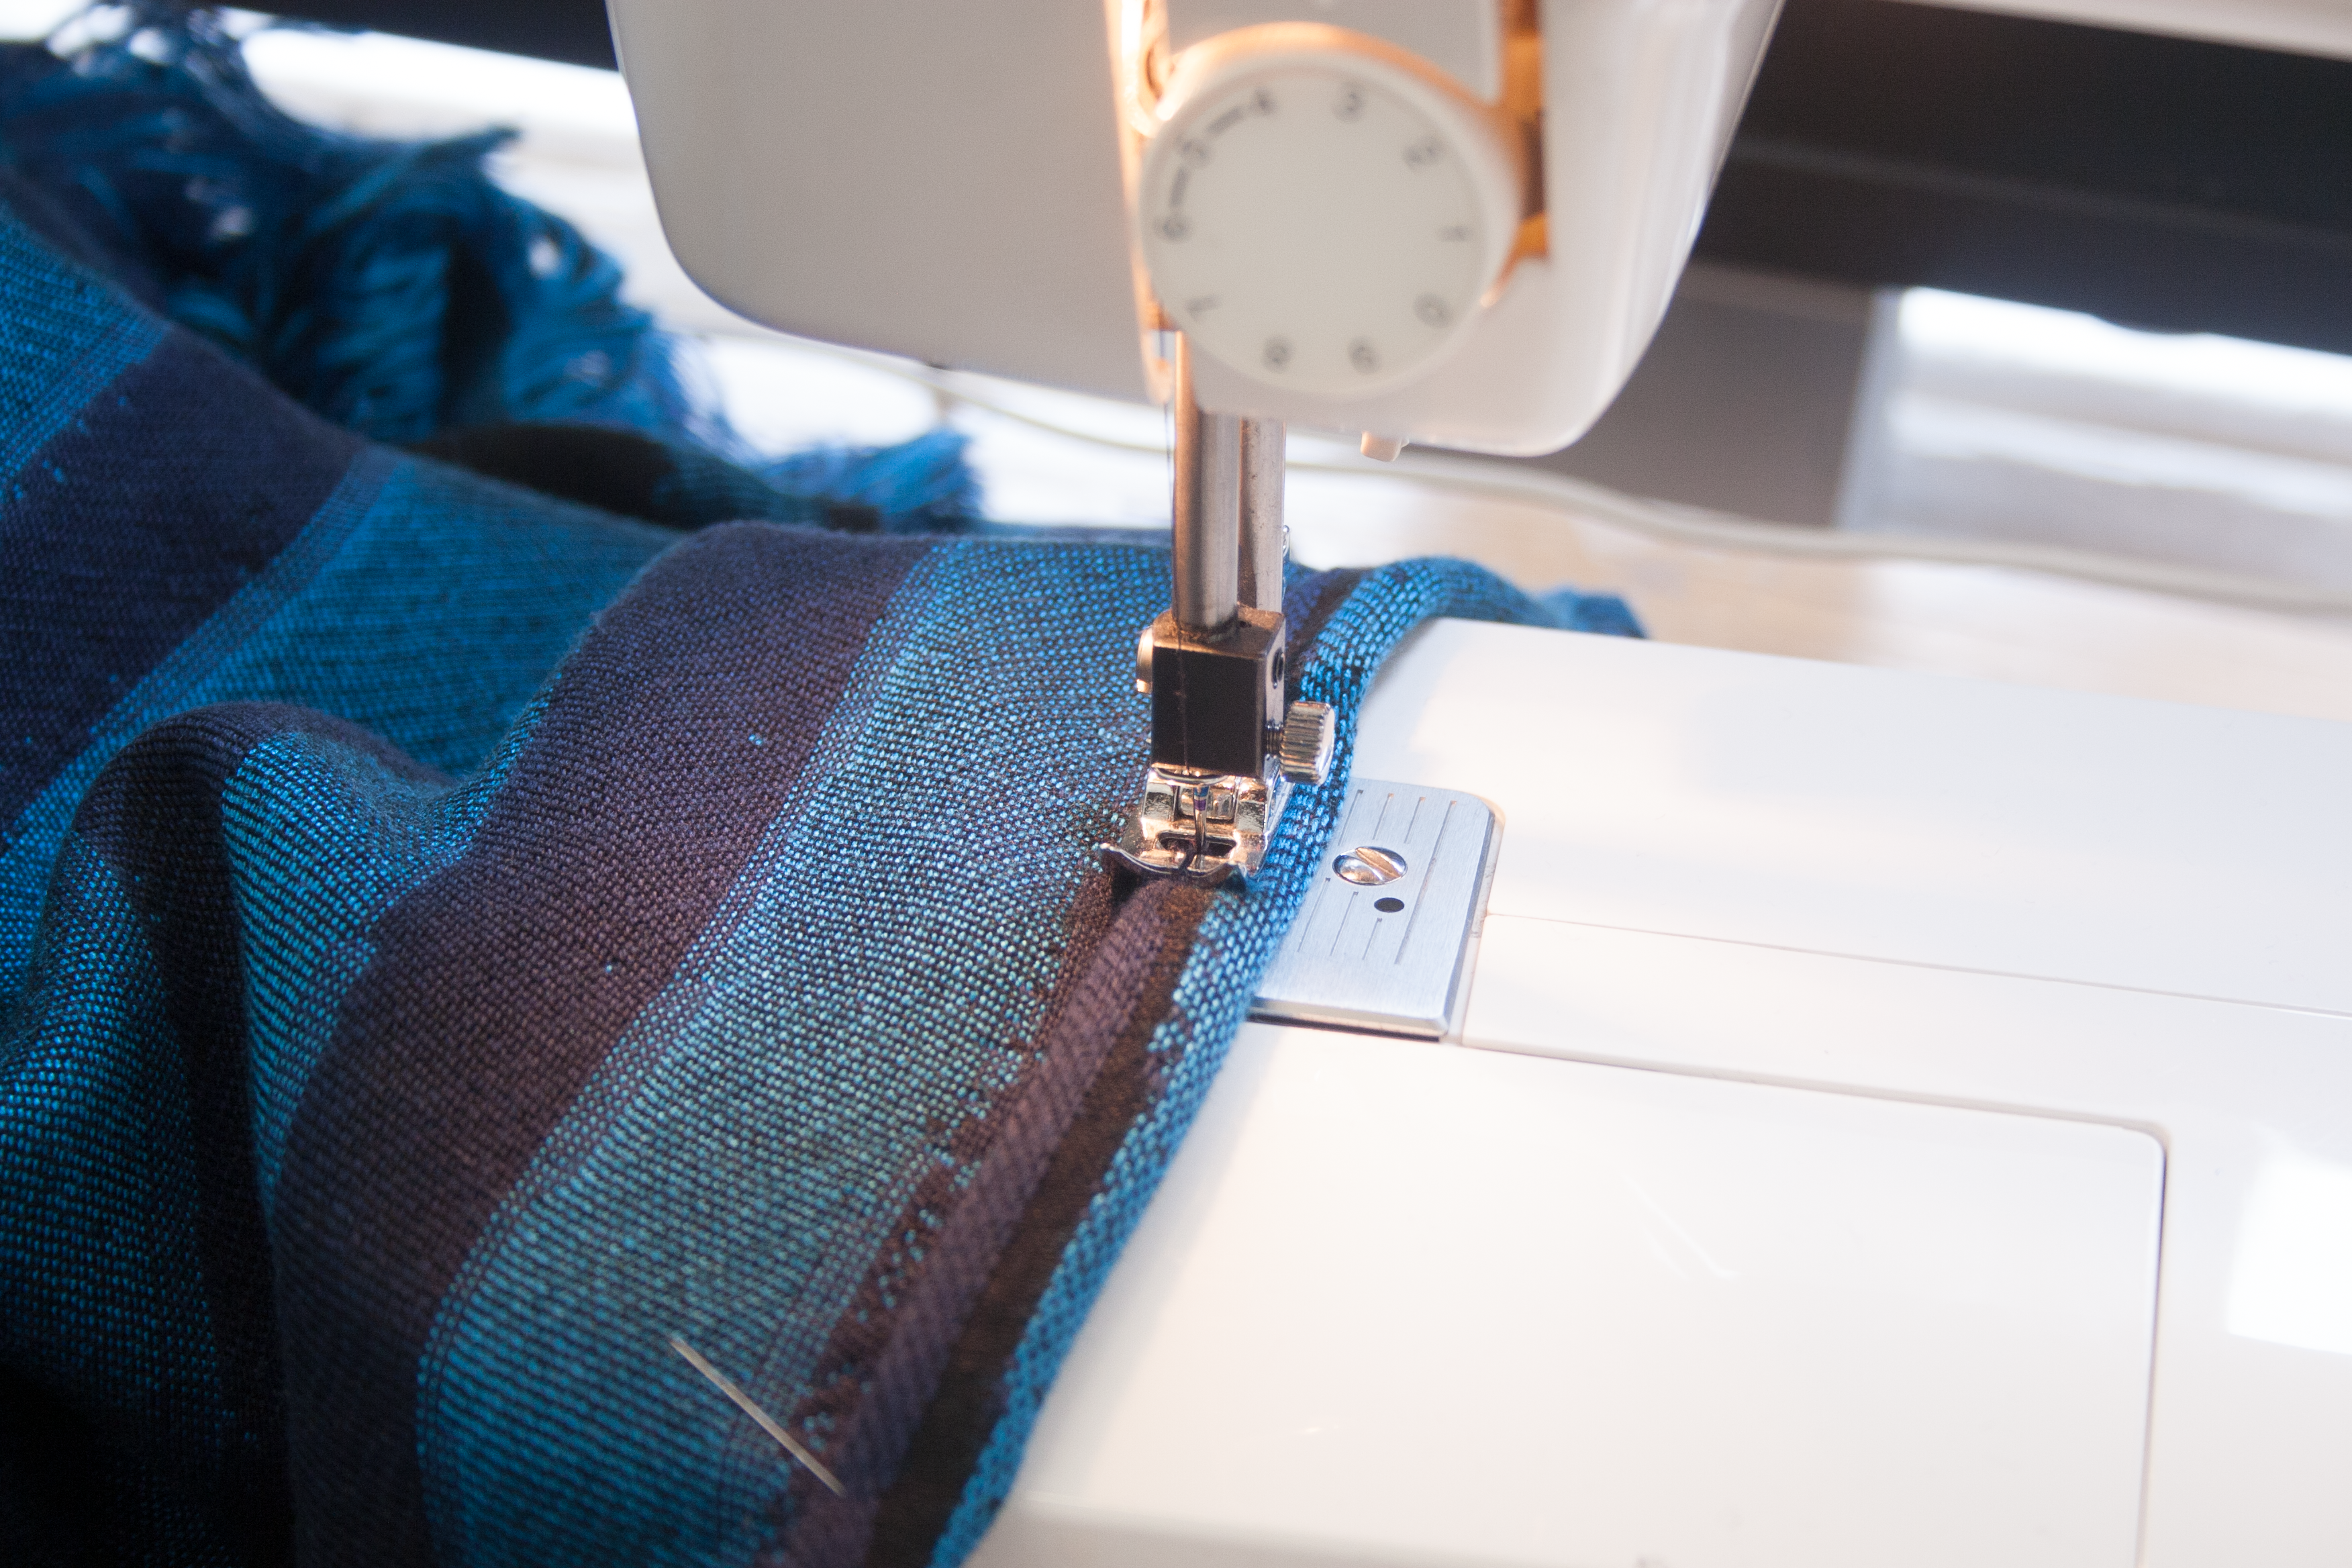
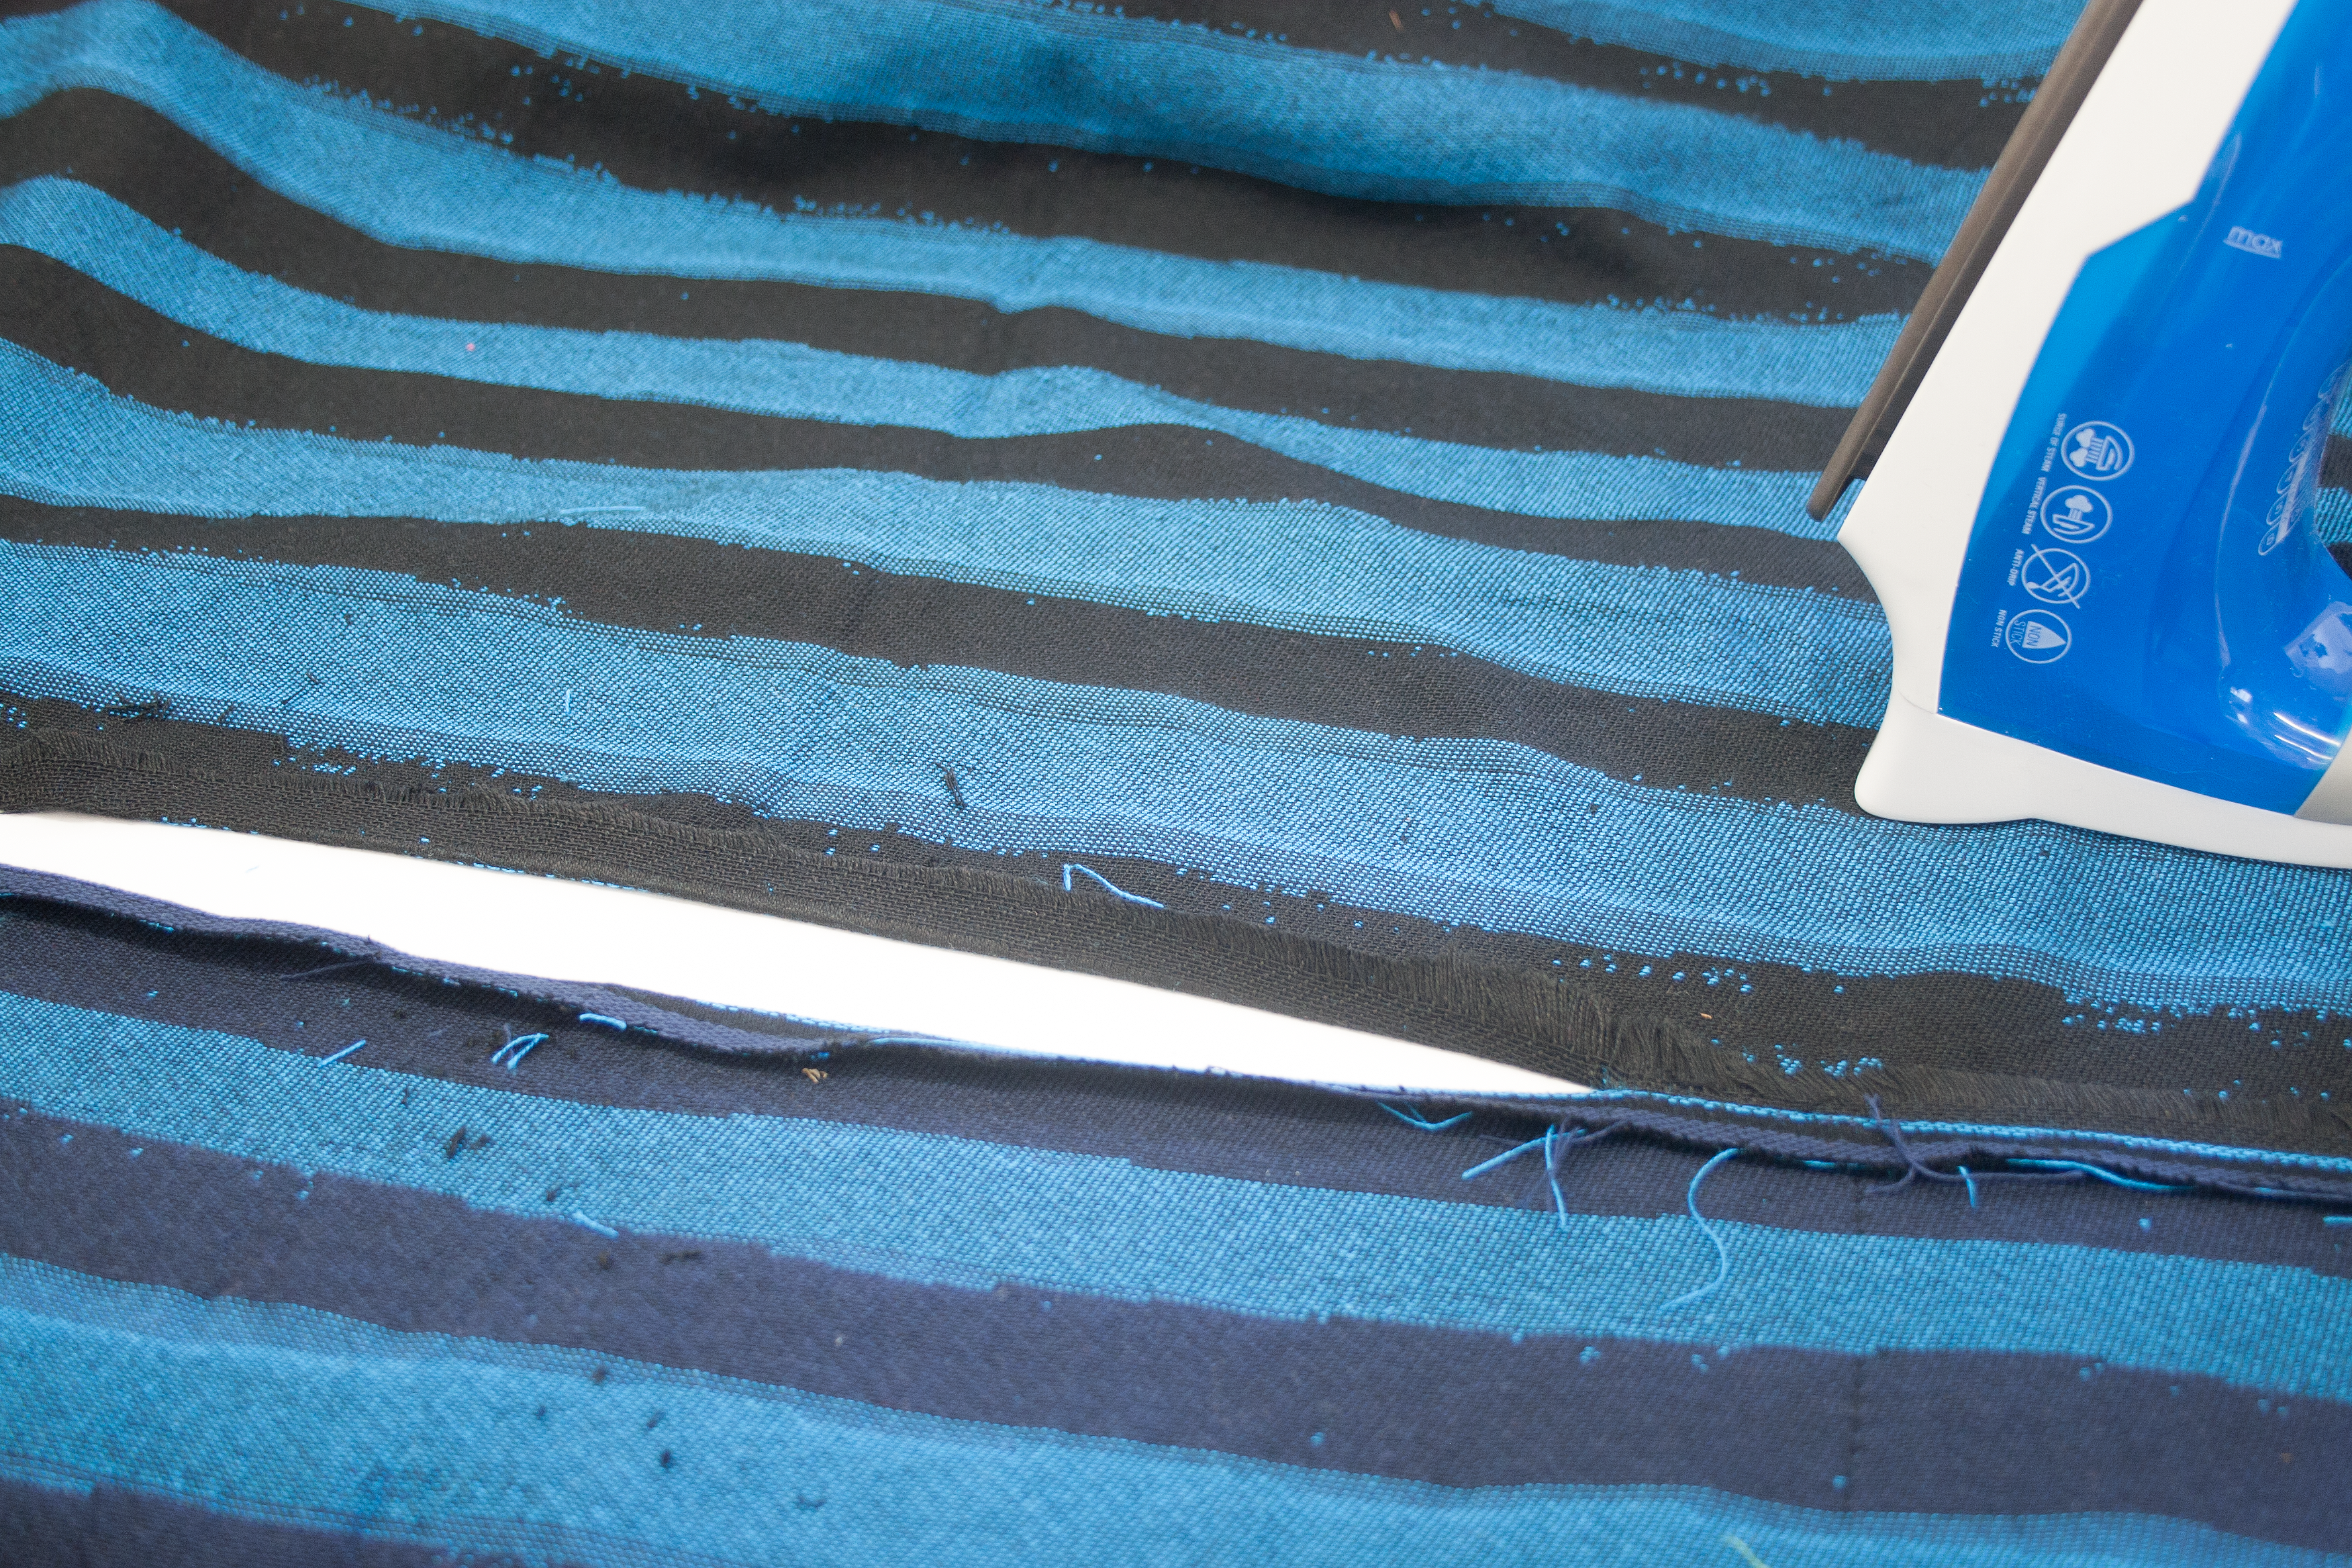
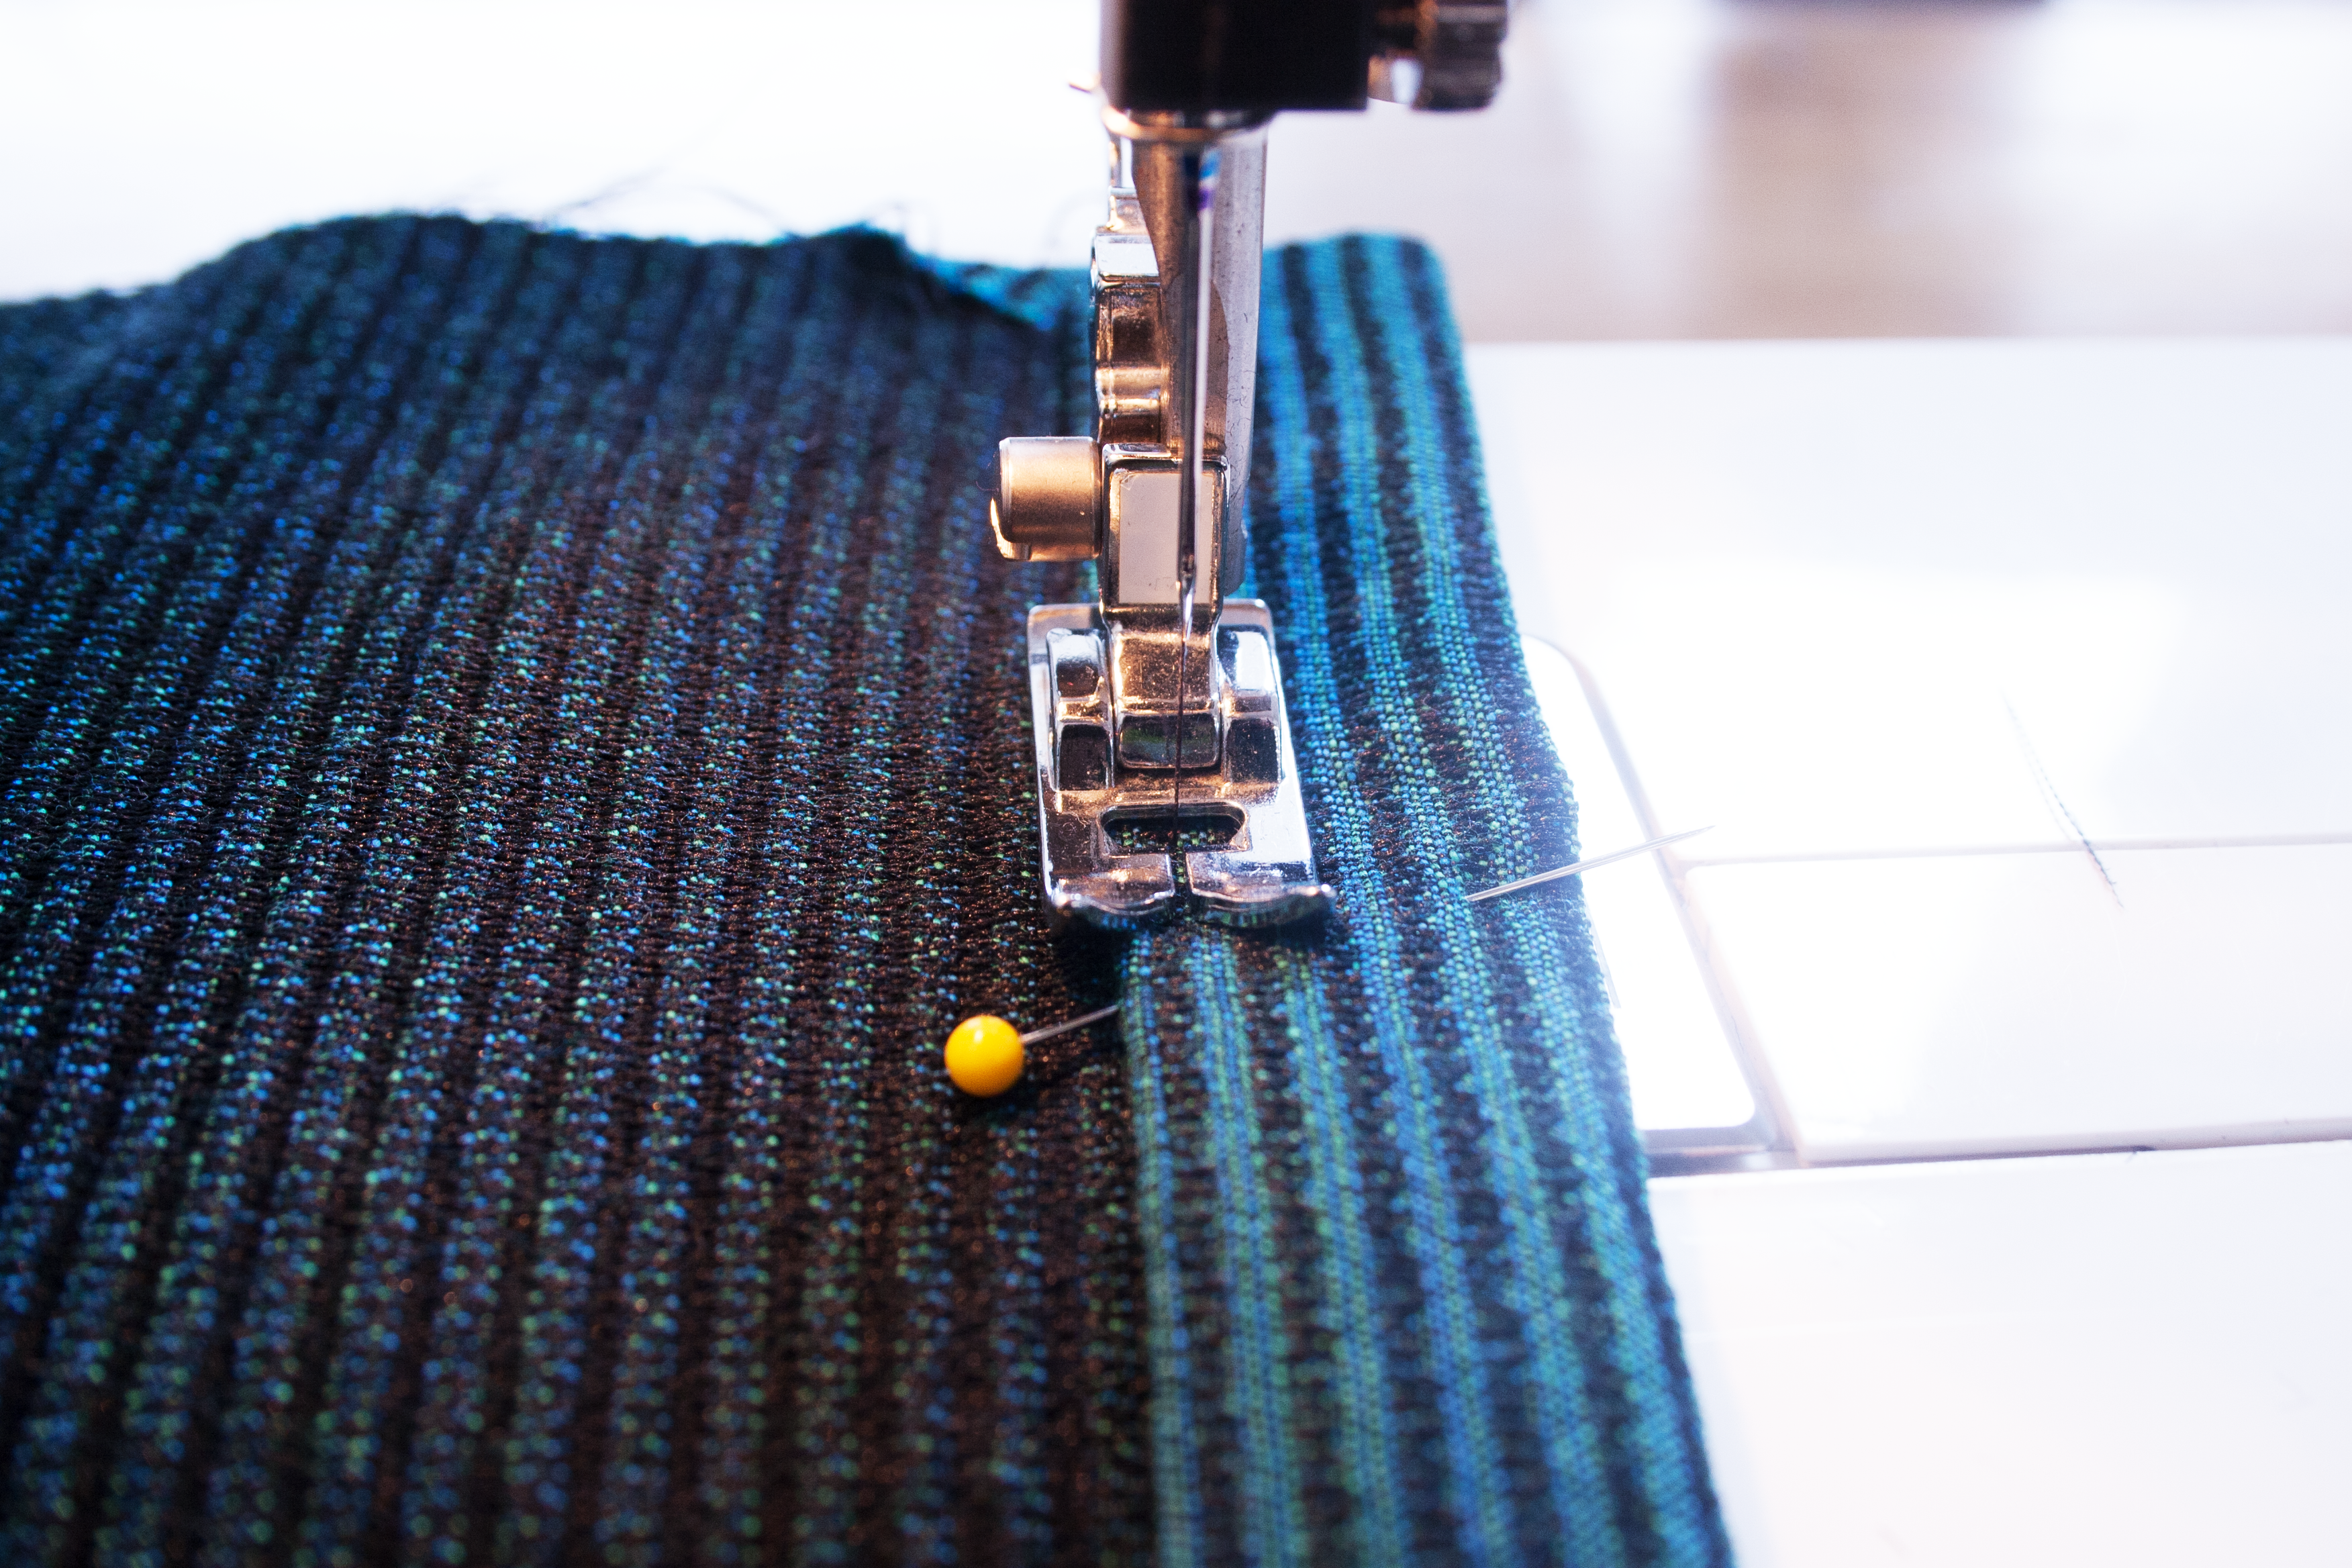
Next goal is to finish off the seams at the head opening. If you want to finish it without going out and buying bias tape, you can finish the edge with a serger or make a zigzag stitch with your sewing machine to mimic a serger. Then you iron down .5″ of the edge towards the inside and just top stitch it all down for a clean edge.
Step 7
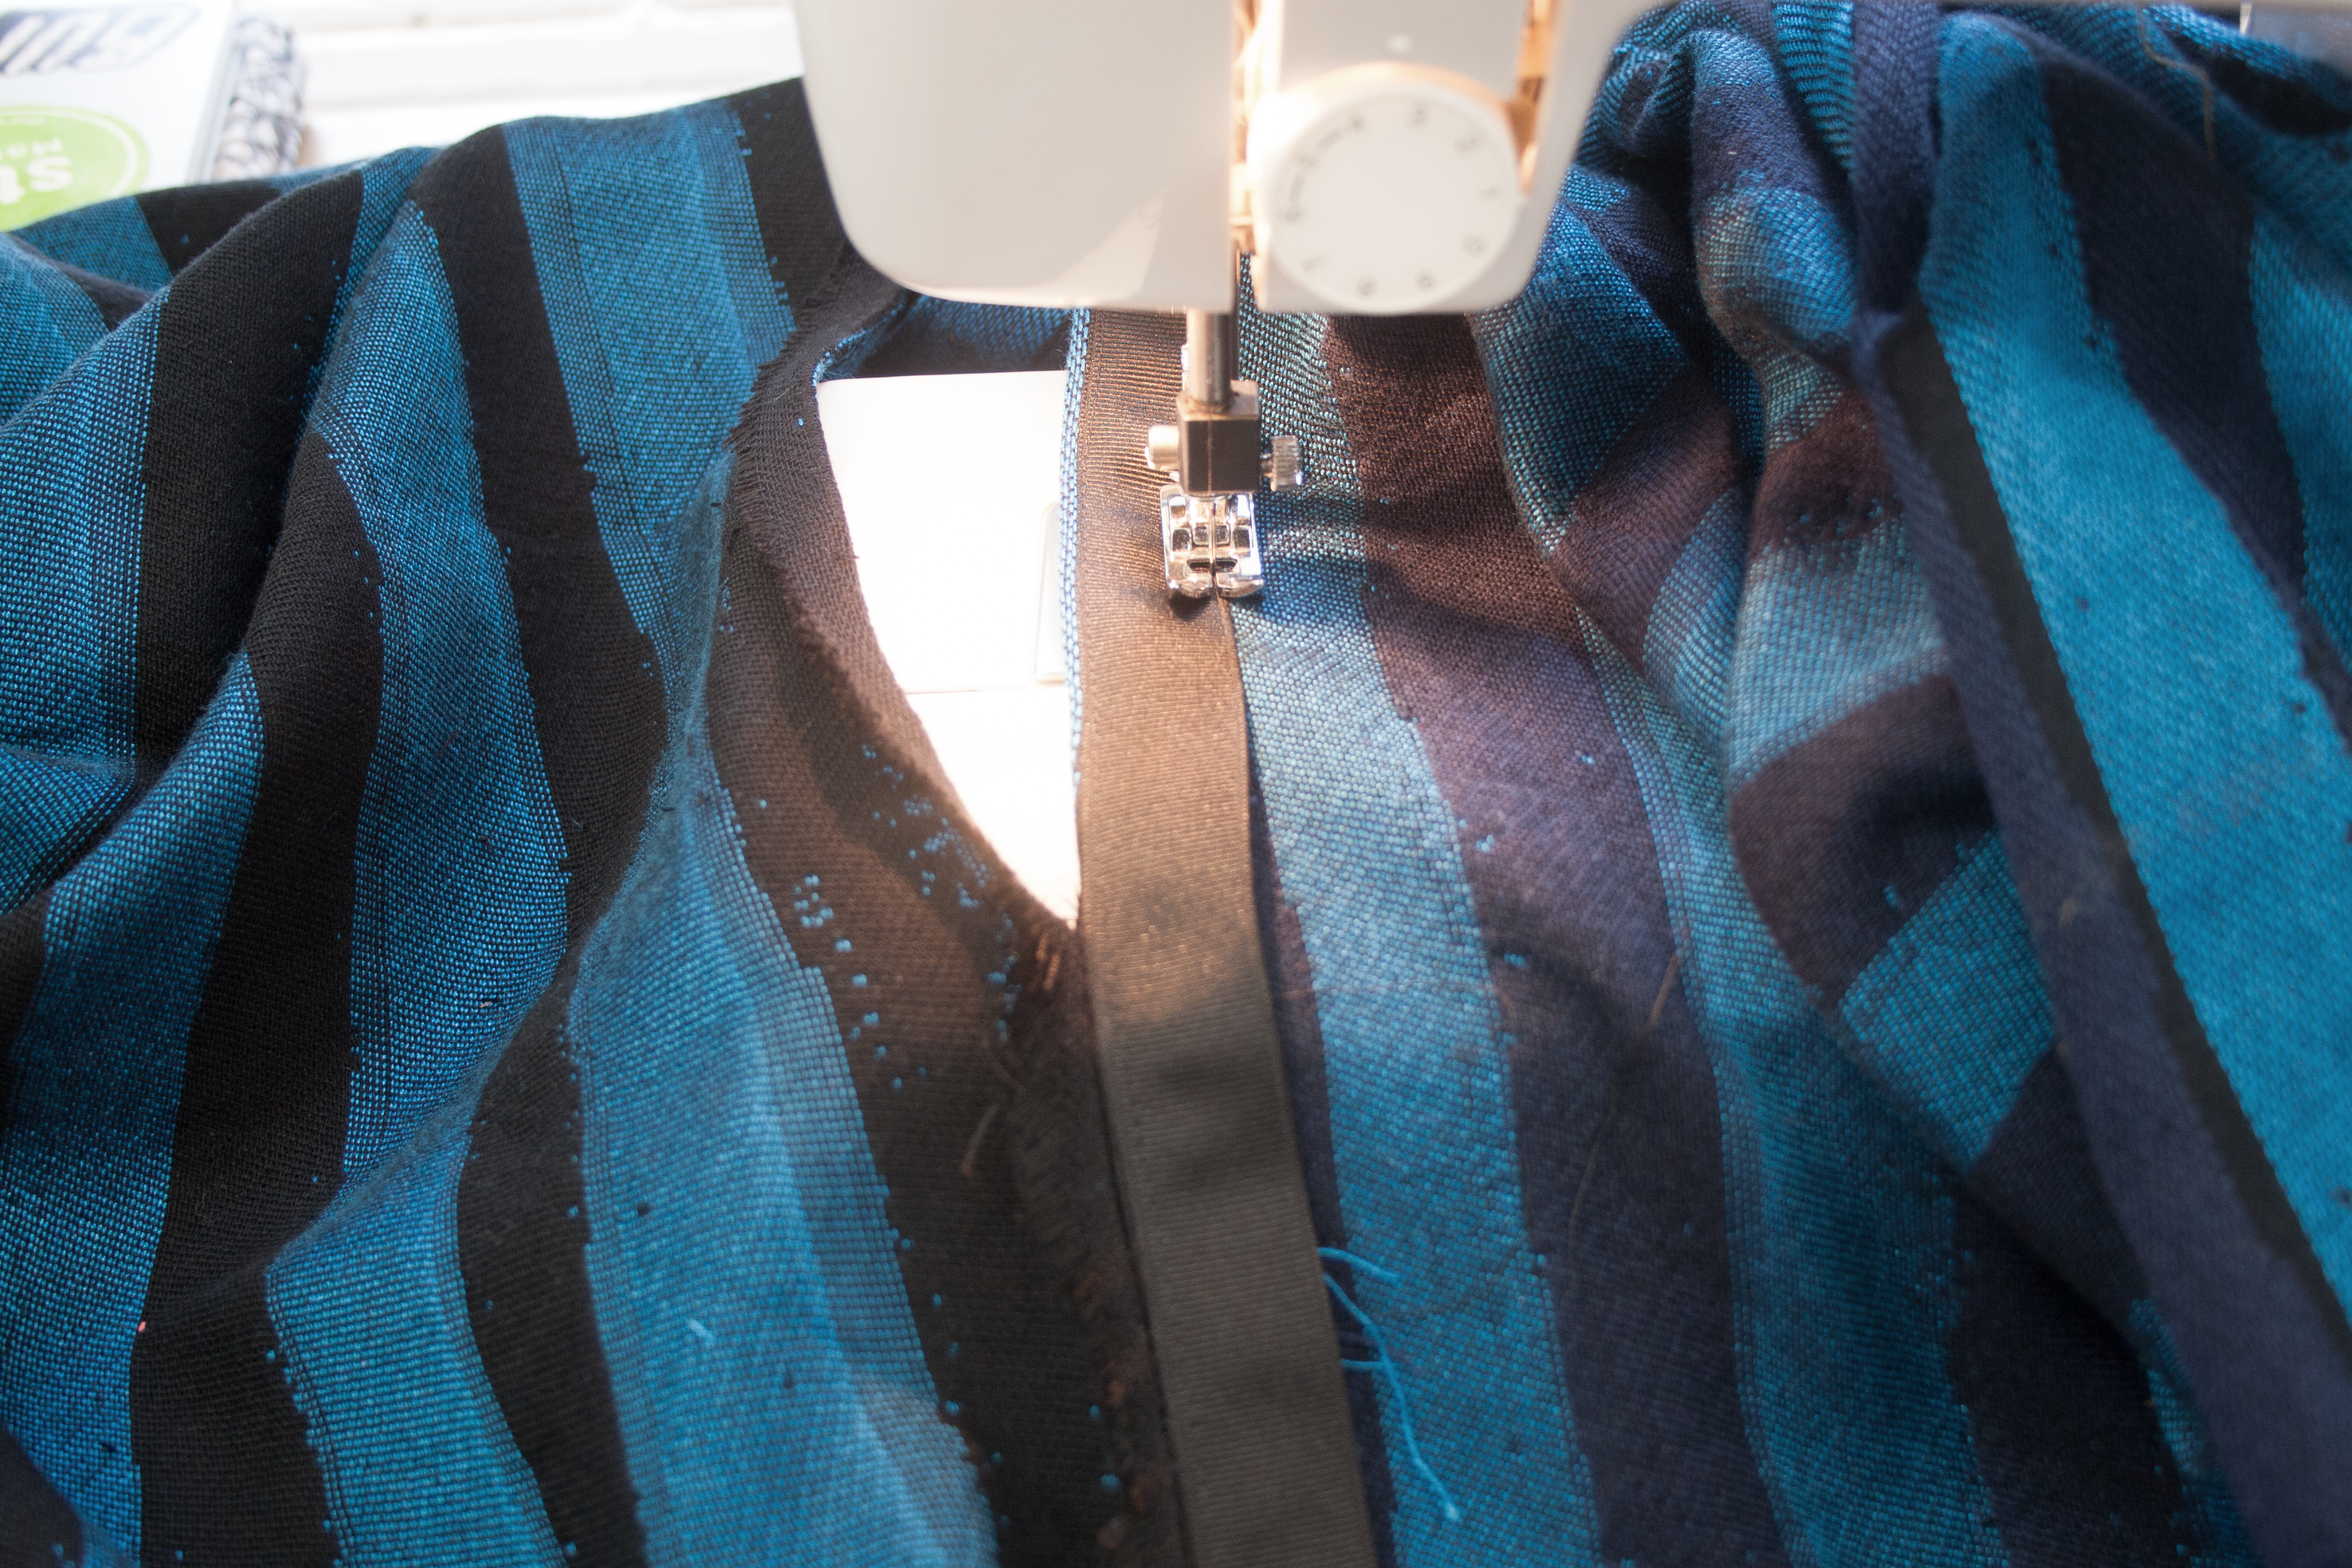
If you prefer to use bias tape, use anything between .5″-1″. I used a stiff 1″ tape to make the fabric more sturdy, if you prefer a more flowy look get a lightweight .5″ tape. To start make sure to iron down .5″ of the edge and then place the bias tape over the fold, and make sure its not too close to the edge, so you can’t see it from the front. Next stitch on both sides of the bias to keep it down. This will give your poncho a very clean finish on the inside.
Step 8
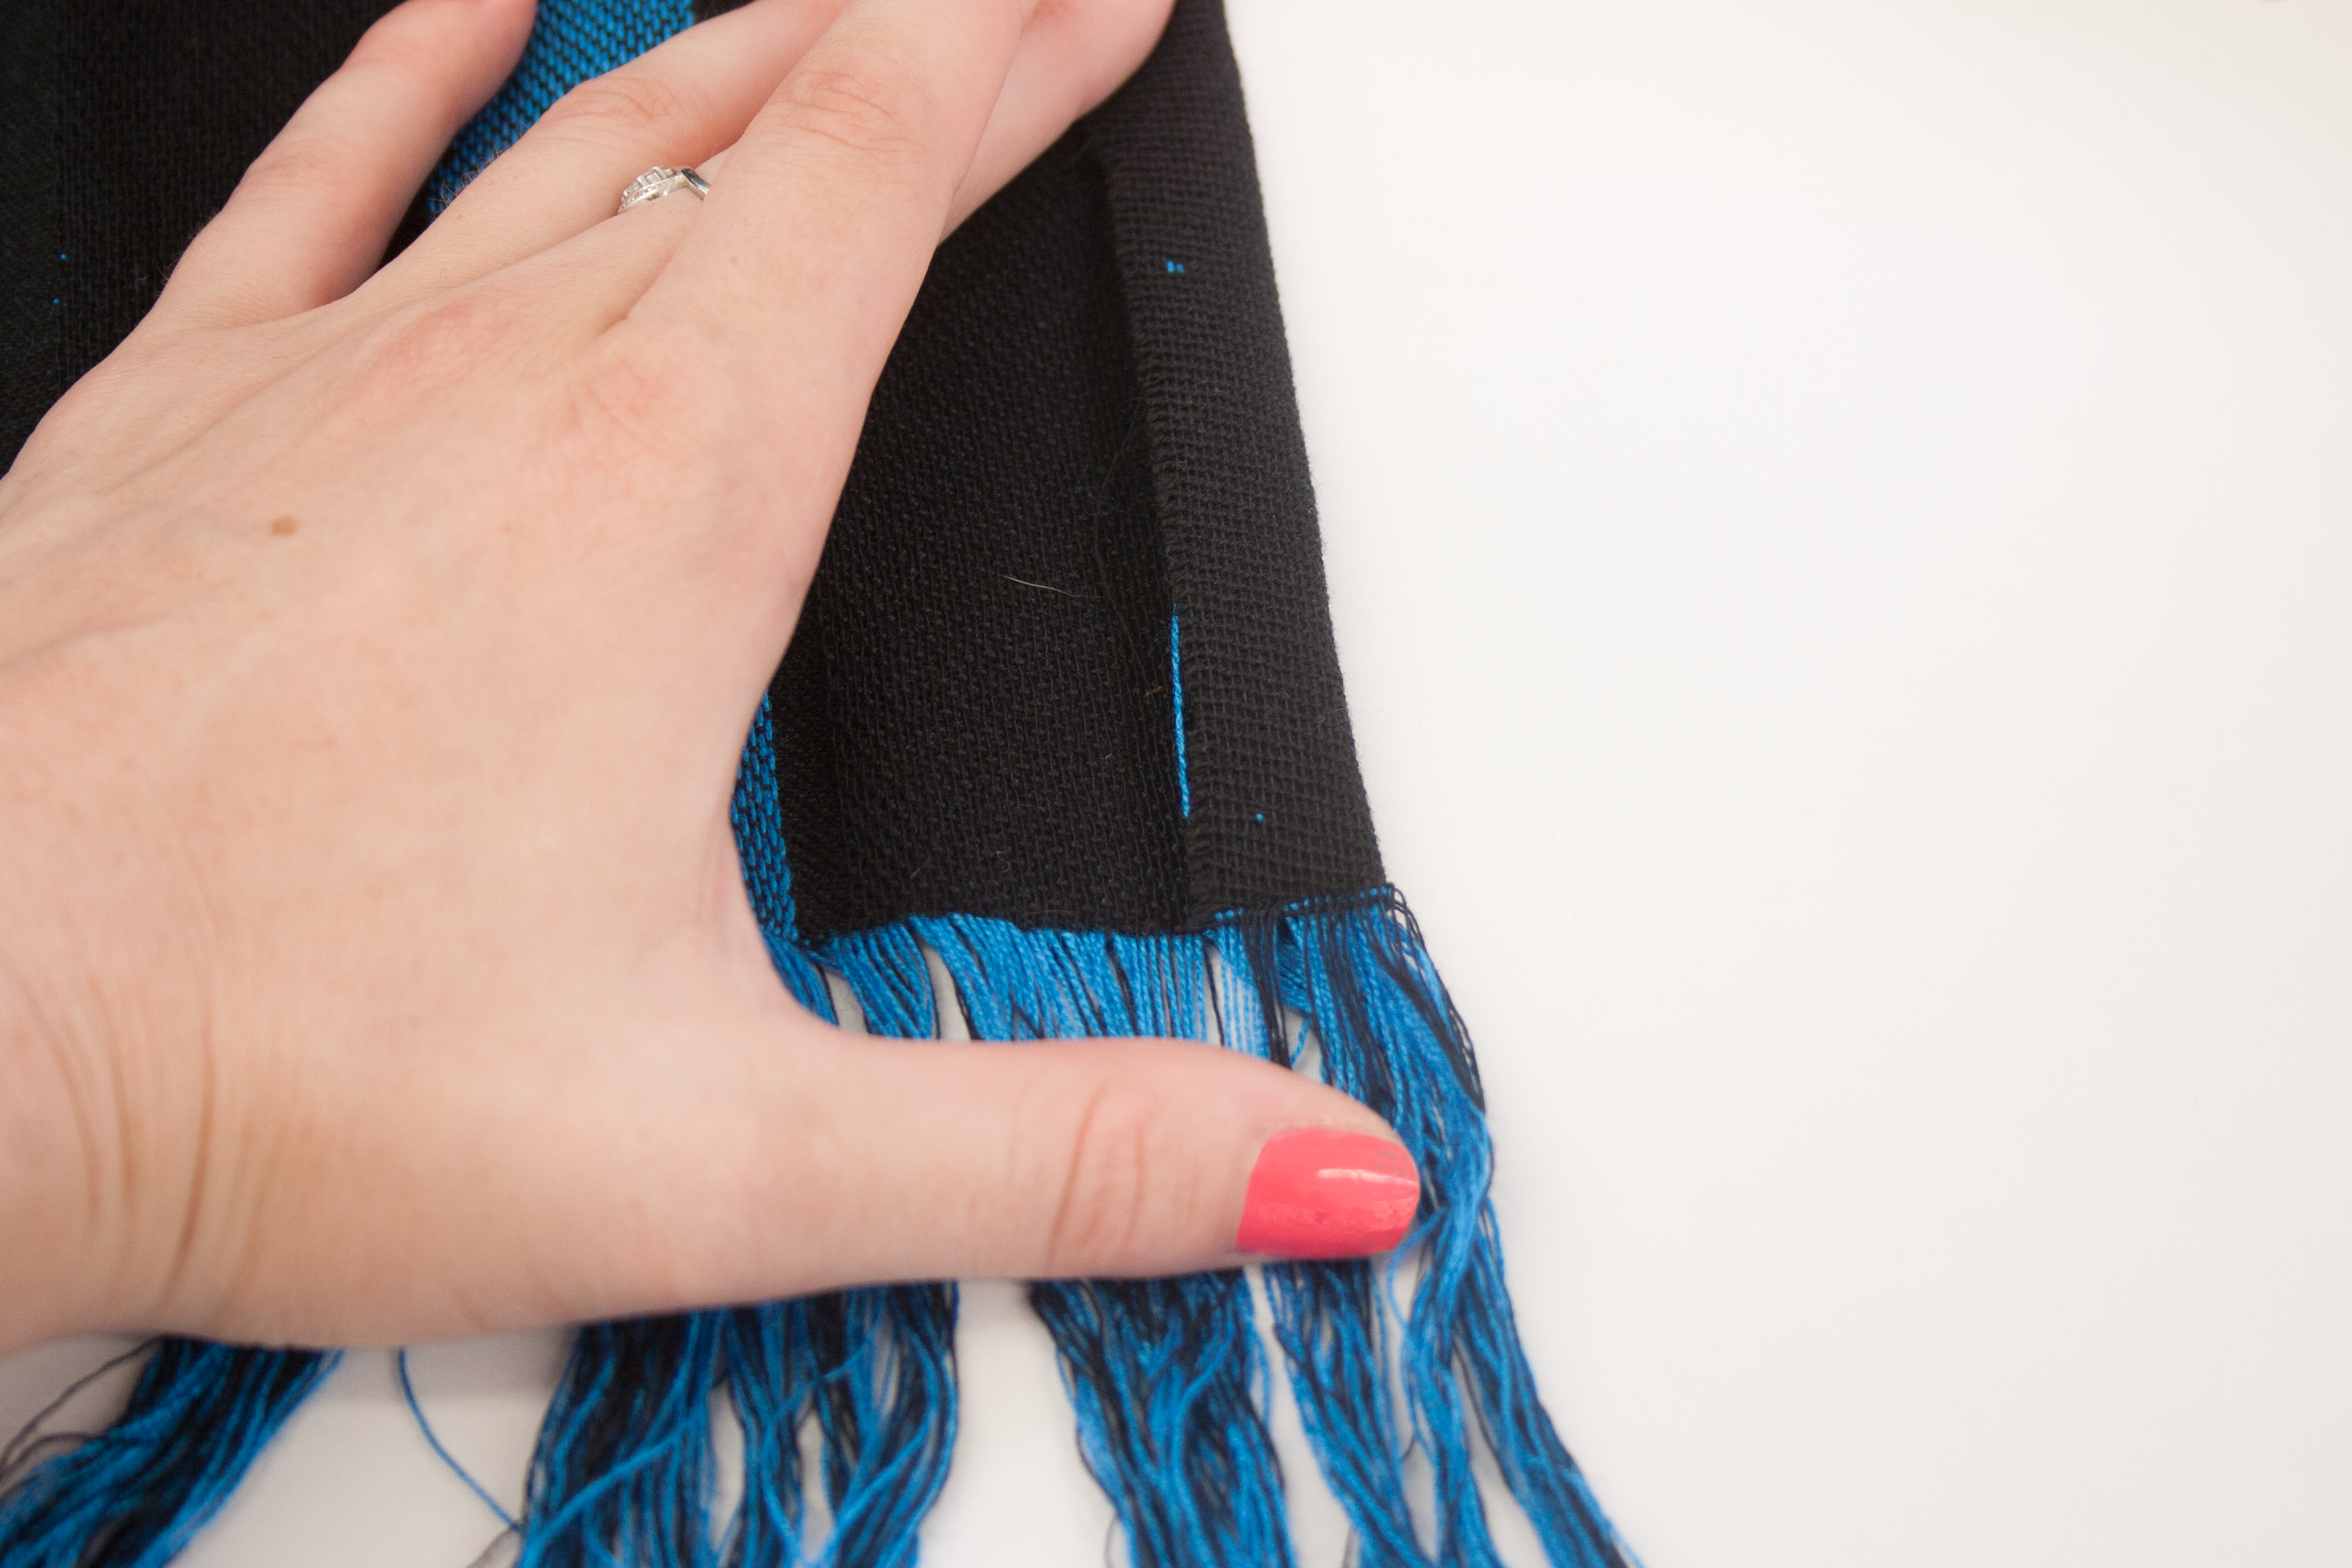
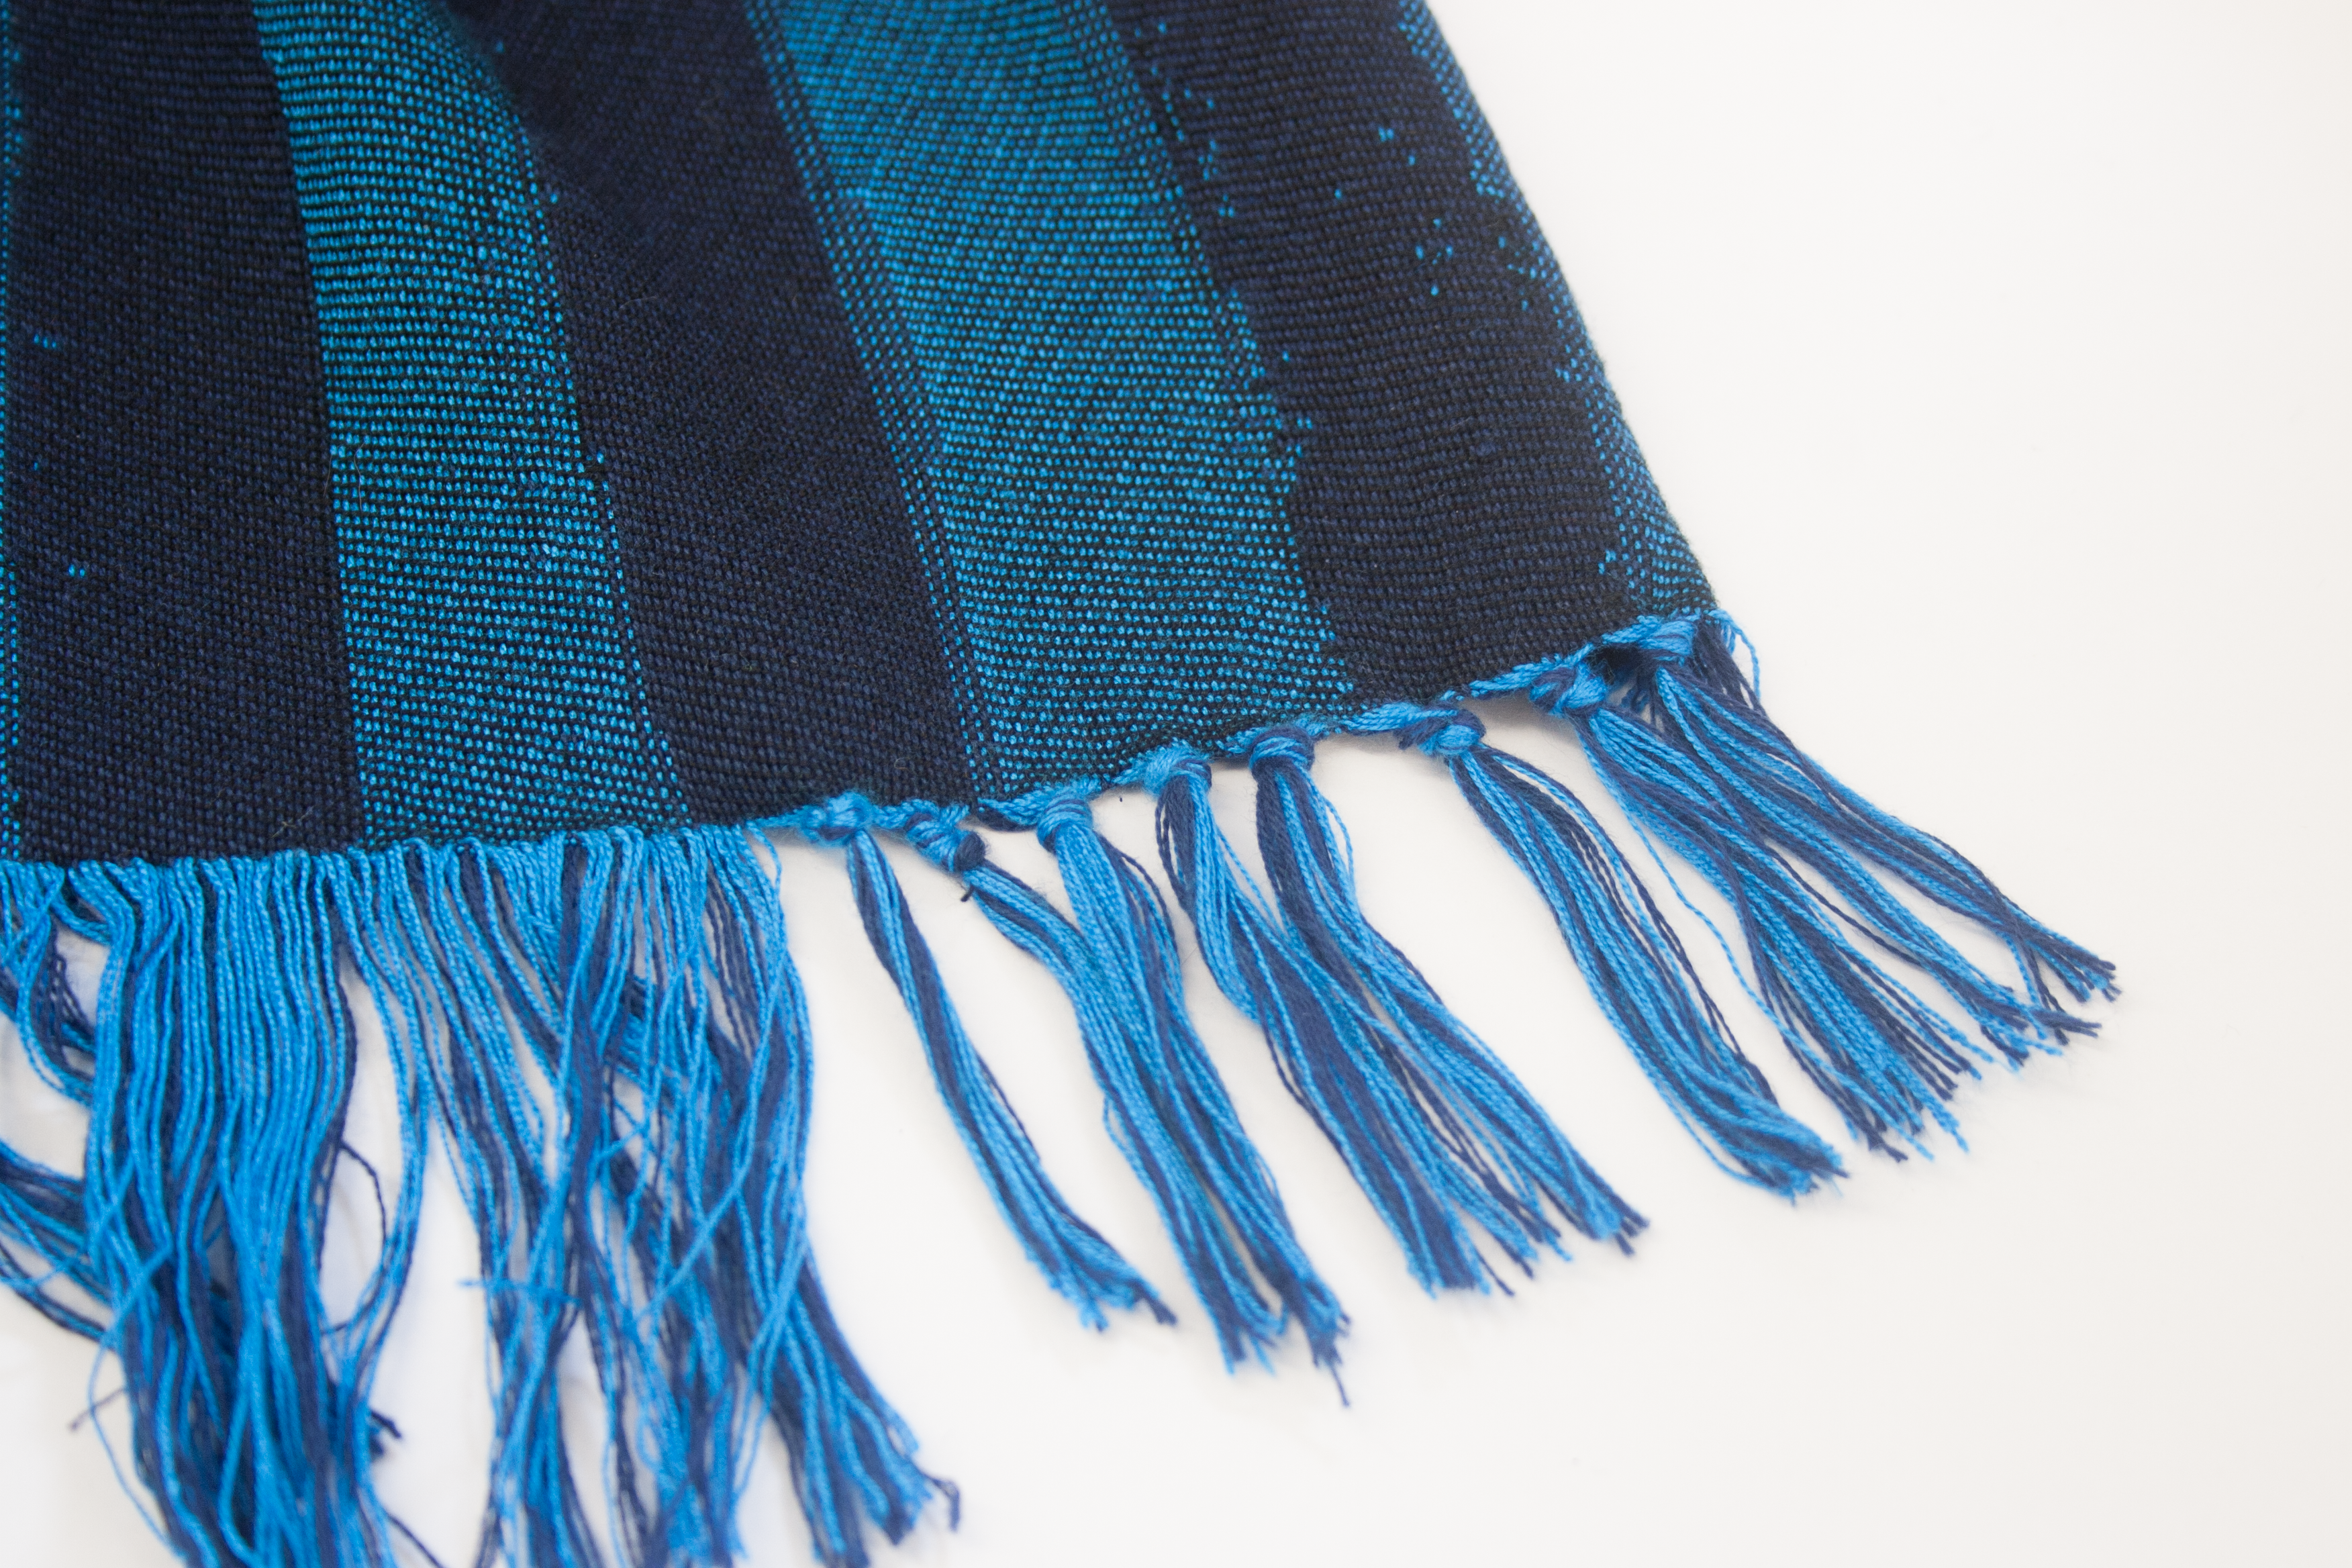
To clean up the fringe, tie knots along the entire side about .5″-.75″. this will make the fringe look intentional.
Done!Be Warm!

This easy tutorial will let you create a drawstring backpack made with your own WOVNS design. Great for going to the beach, going to the gym, on a day trip to amusement park, or just for everyday use. With 1 yard of fabric you can make 4 backpacks- make them for friends, kids, dogs or sell them.
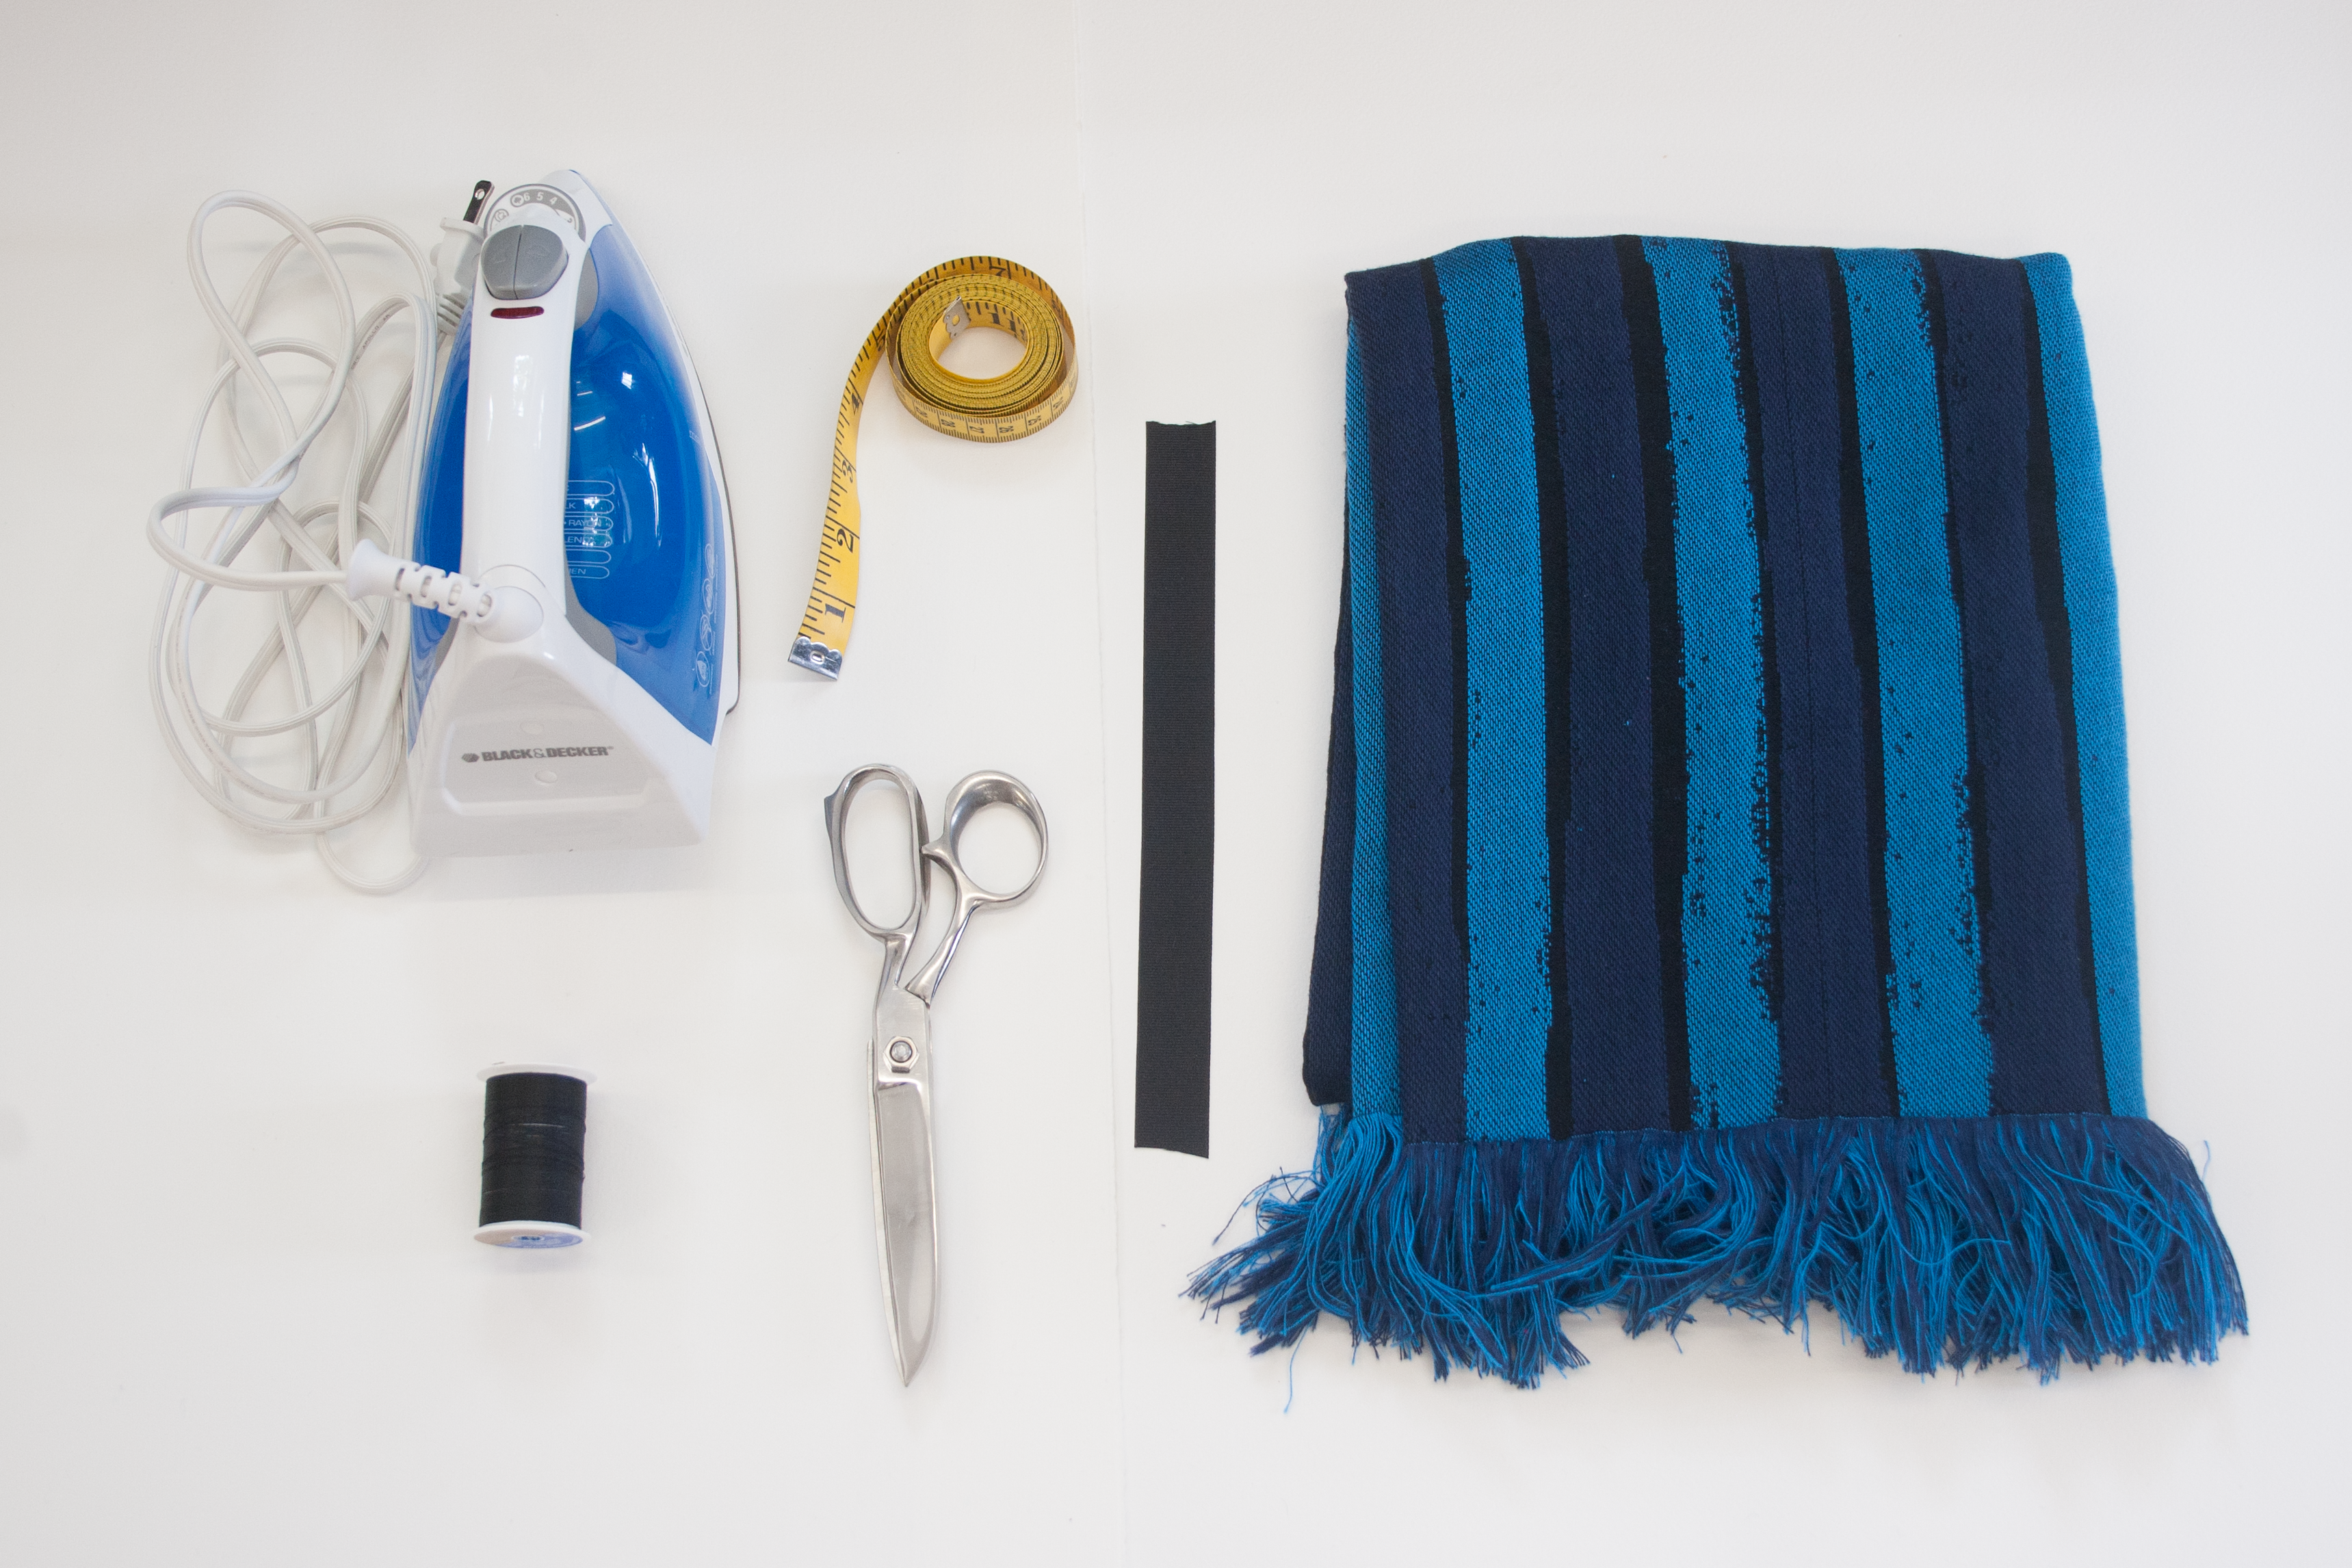
Materials:
Step 1
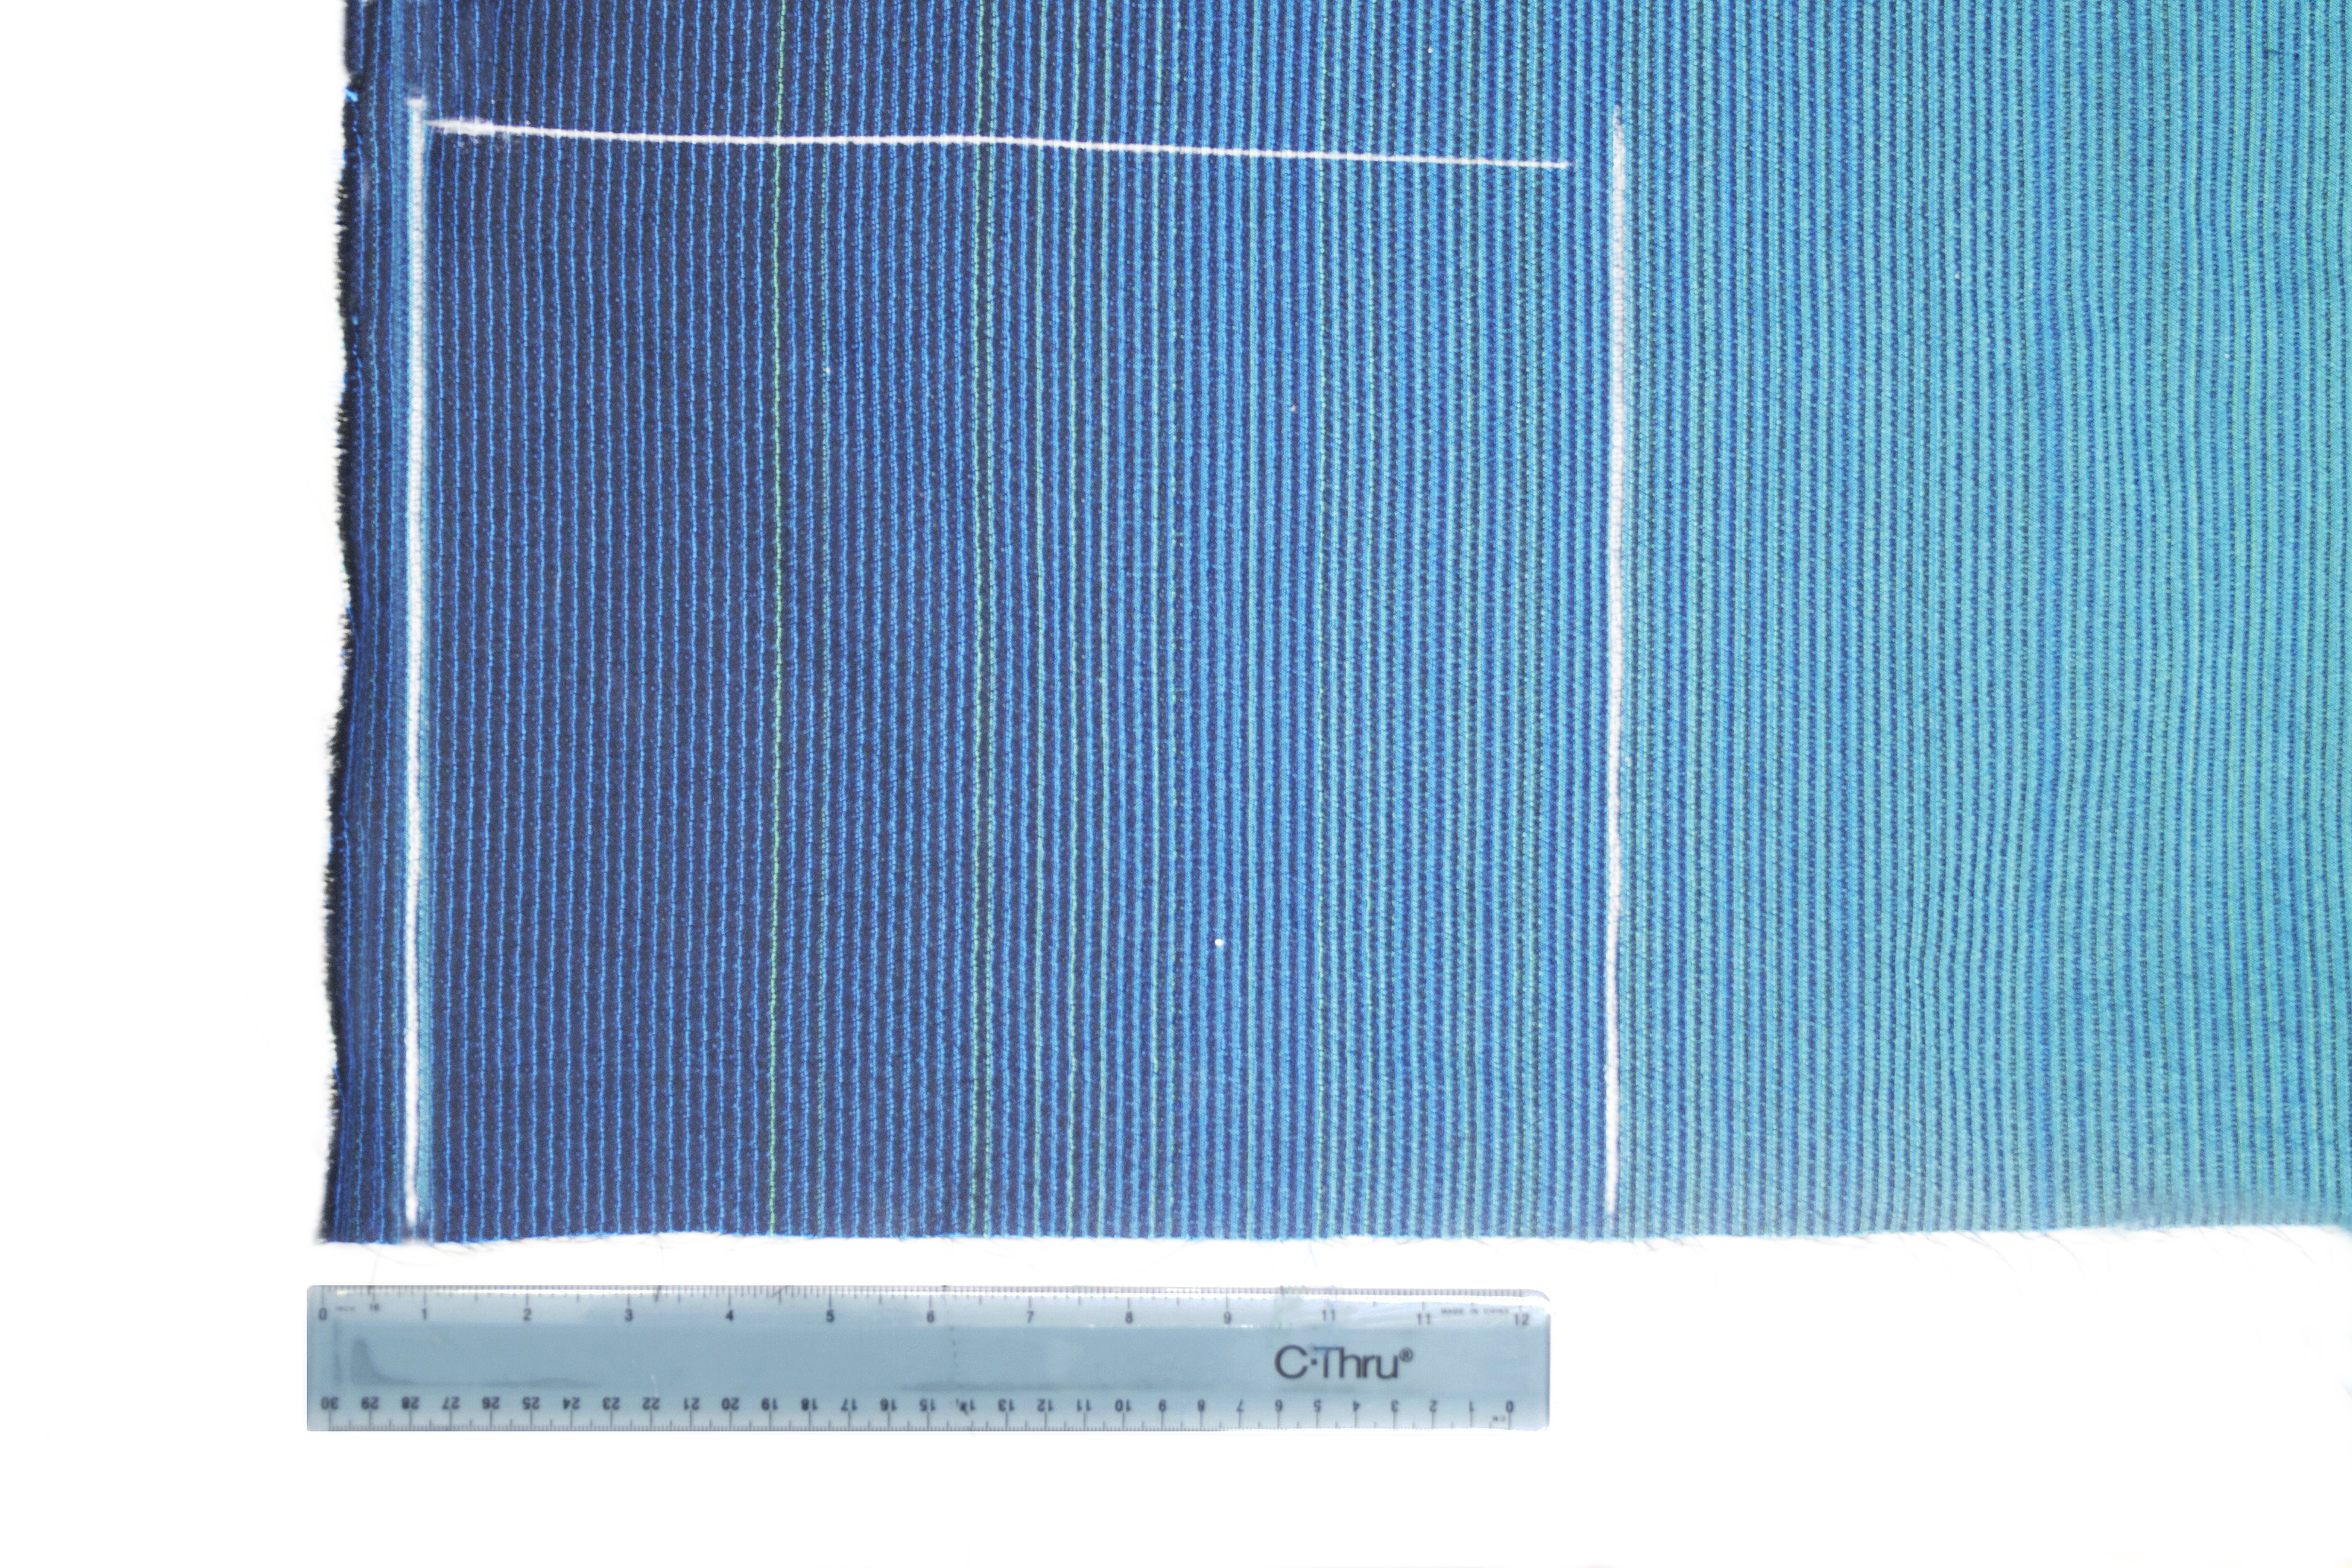
Lay out your fabric and decide what part of your print you want to use. Then with chalk mark off 2 rectangles in the size 13″w x 18″h and cut them out. This will be the front and back of your backpack.
Step2
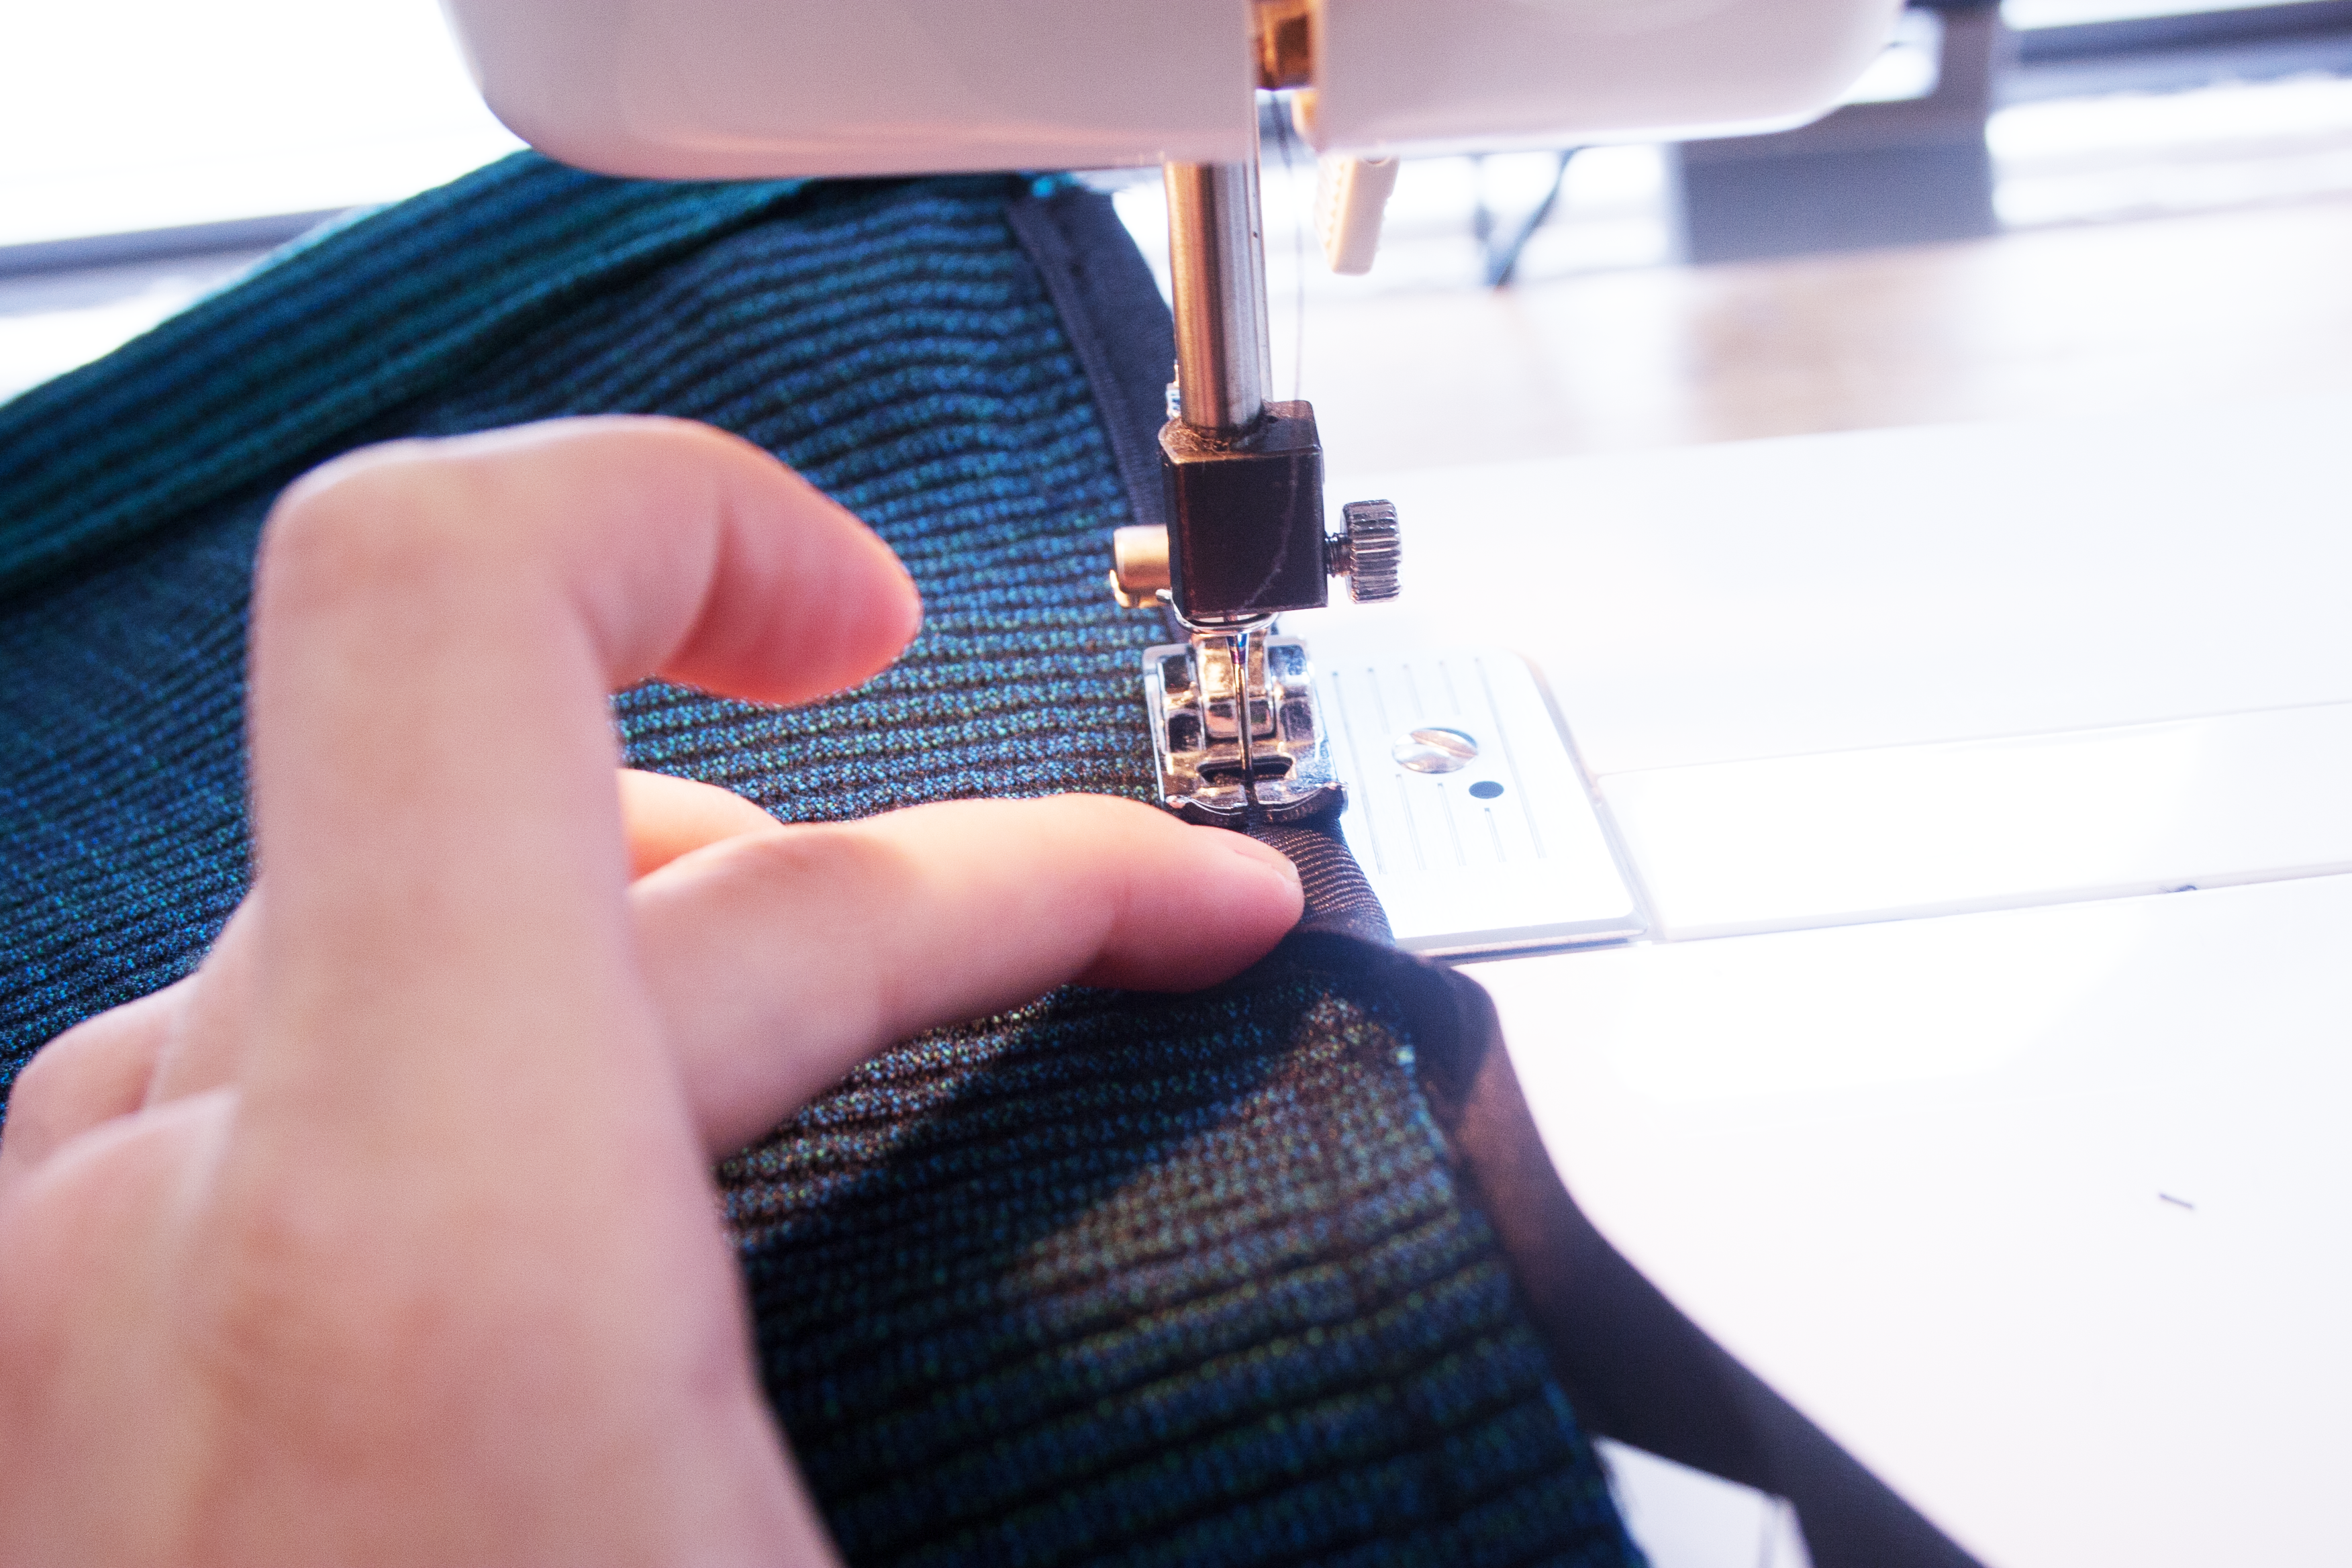
After you cut them out, on both pieces, fold the top towards the backside of the fabric by .5″ and then fold it again 1″ and pin everything down. As you fold down try to tuck the sides into the fold to give it a clean edge.
Step 3
Sewing! Stitch down the folds about 1/4 of an inch away from the flap. You should be left with 2 pieces of fabric, both which have a stitched down fold. On the ends of these fold there should be opening large enough to put your finger or a pencil through.
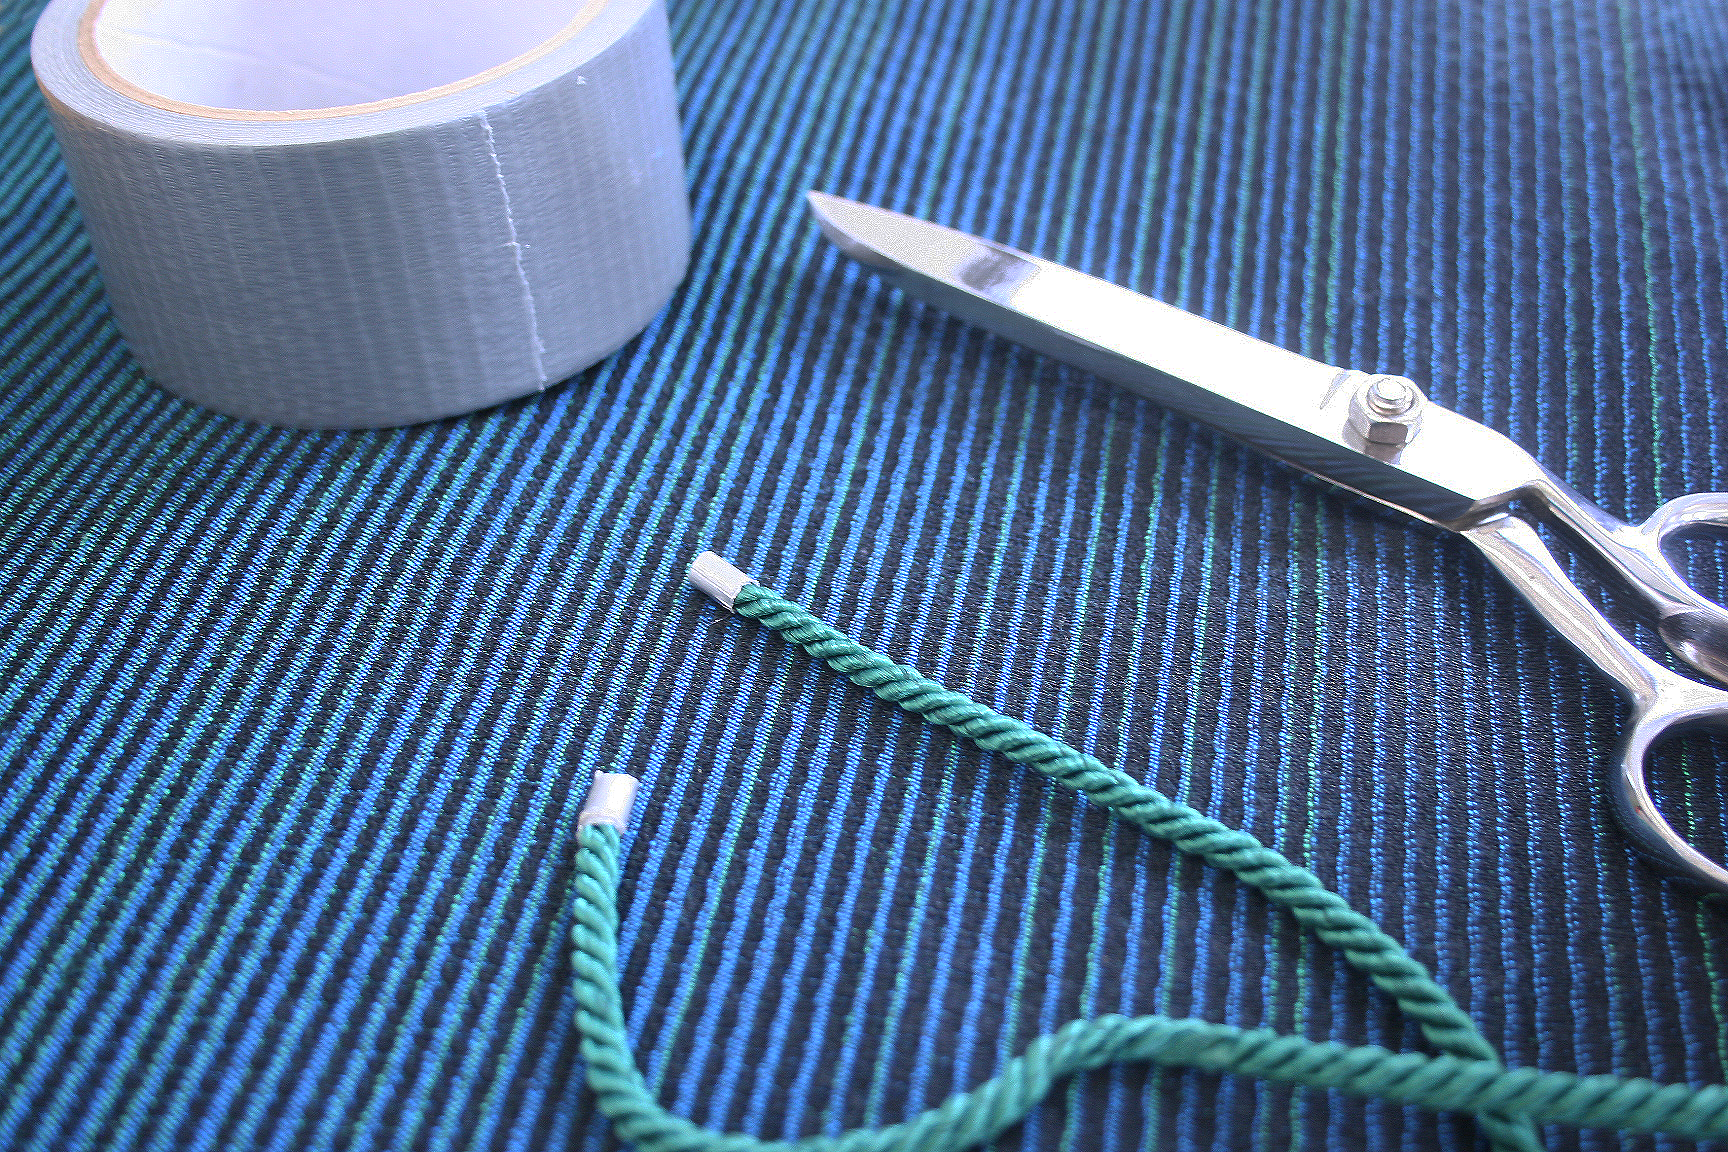
Step 4
Take the rope you have for the straps and cut it in half. You should now have two straps at 72″ each.
*Tip
The next part is to get your rope through the tunnels made by the fold you just sewed. To make life easier take the ends and wrap them in tape. It will keep it from straying and fraying.
Step 5
Feeding the ropes through. Make sure before you start, both pieces of fabric are either both facing up or both facing down. Start with rope 1 and begin feeding it through on the right side of fabric A, it should come out of the left side of fabric A and then should feed through the right side of fabric B. Rope 1 should come out of the left side of side B. Continue to feed rope 2 through starting at the left side of fabric A, exiting on the right side of fabric A the entering the left side of fabric B and ending on the right side of side B.

Step 6
When the feeding of the rope is done, pull the ends of rope 1 together and rope 2 together. You should get something that looks like this >

Step 7
Place the 2 pieces of fabric right side to right side, making sure the straps are sandwiched between them. Pin the ends about 2″ up from the bottom. Continue to sew about .5″ away from the edges. Starting just below the fold, down the side, then bottom, then back up the side, then stop right before the fold again.

Step 8
If you have a serger go ahead and finish off the edge or if you don’t, finish off the edge with bias tape like shown. Any bias tape size around 3/4″-1″ will work.
Done!
Just turn it inside out and now you have your unique Drawstring backpack!
Can’t get enough?
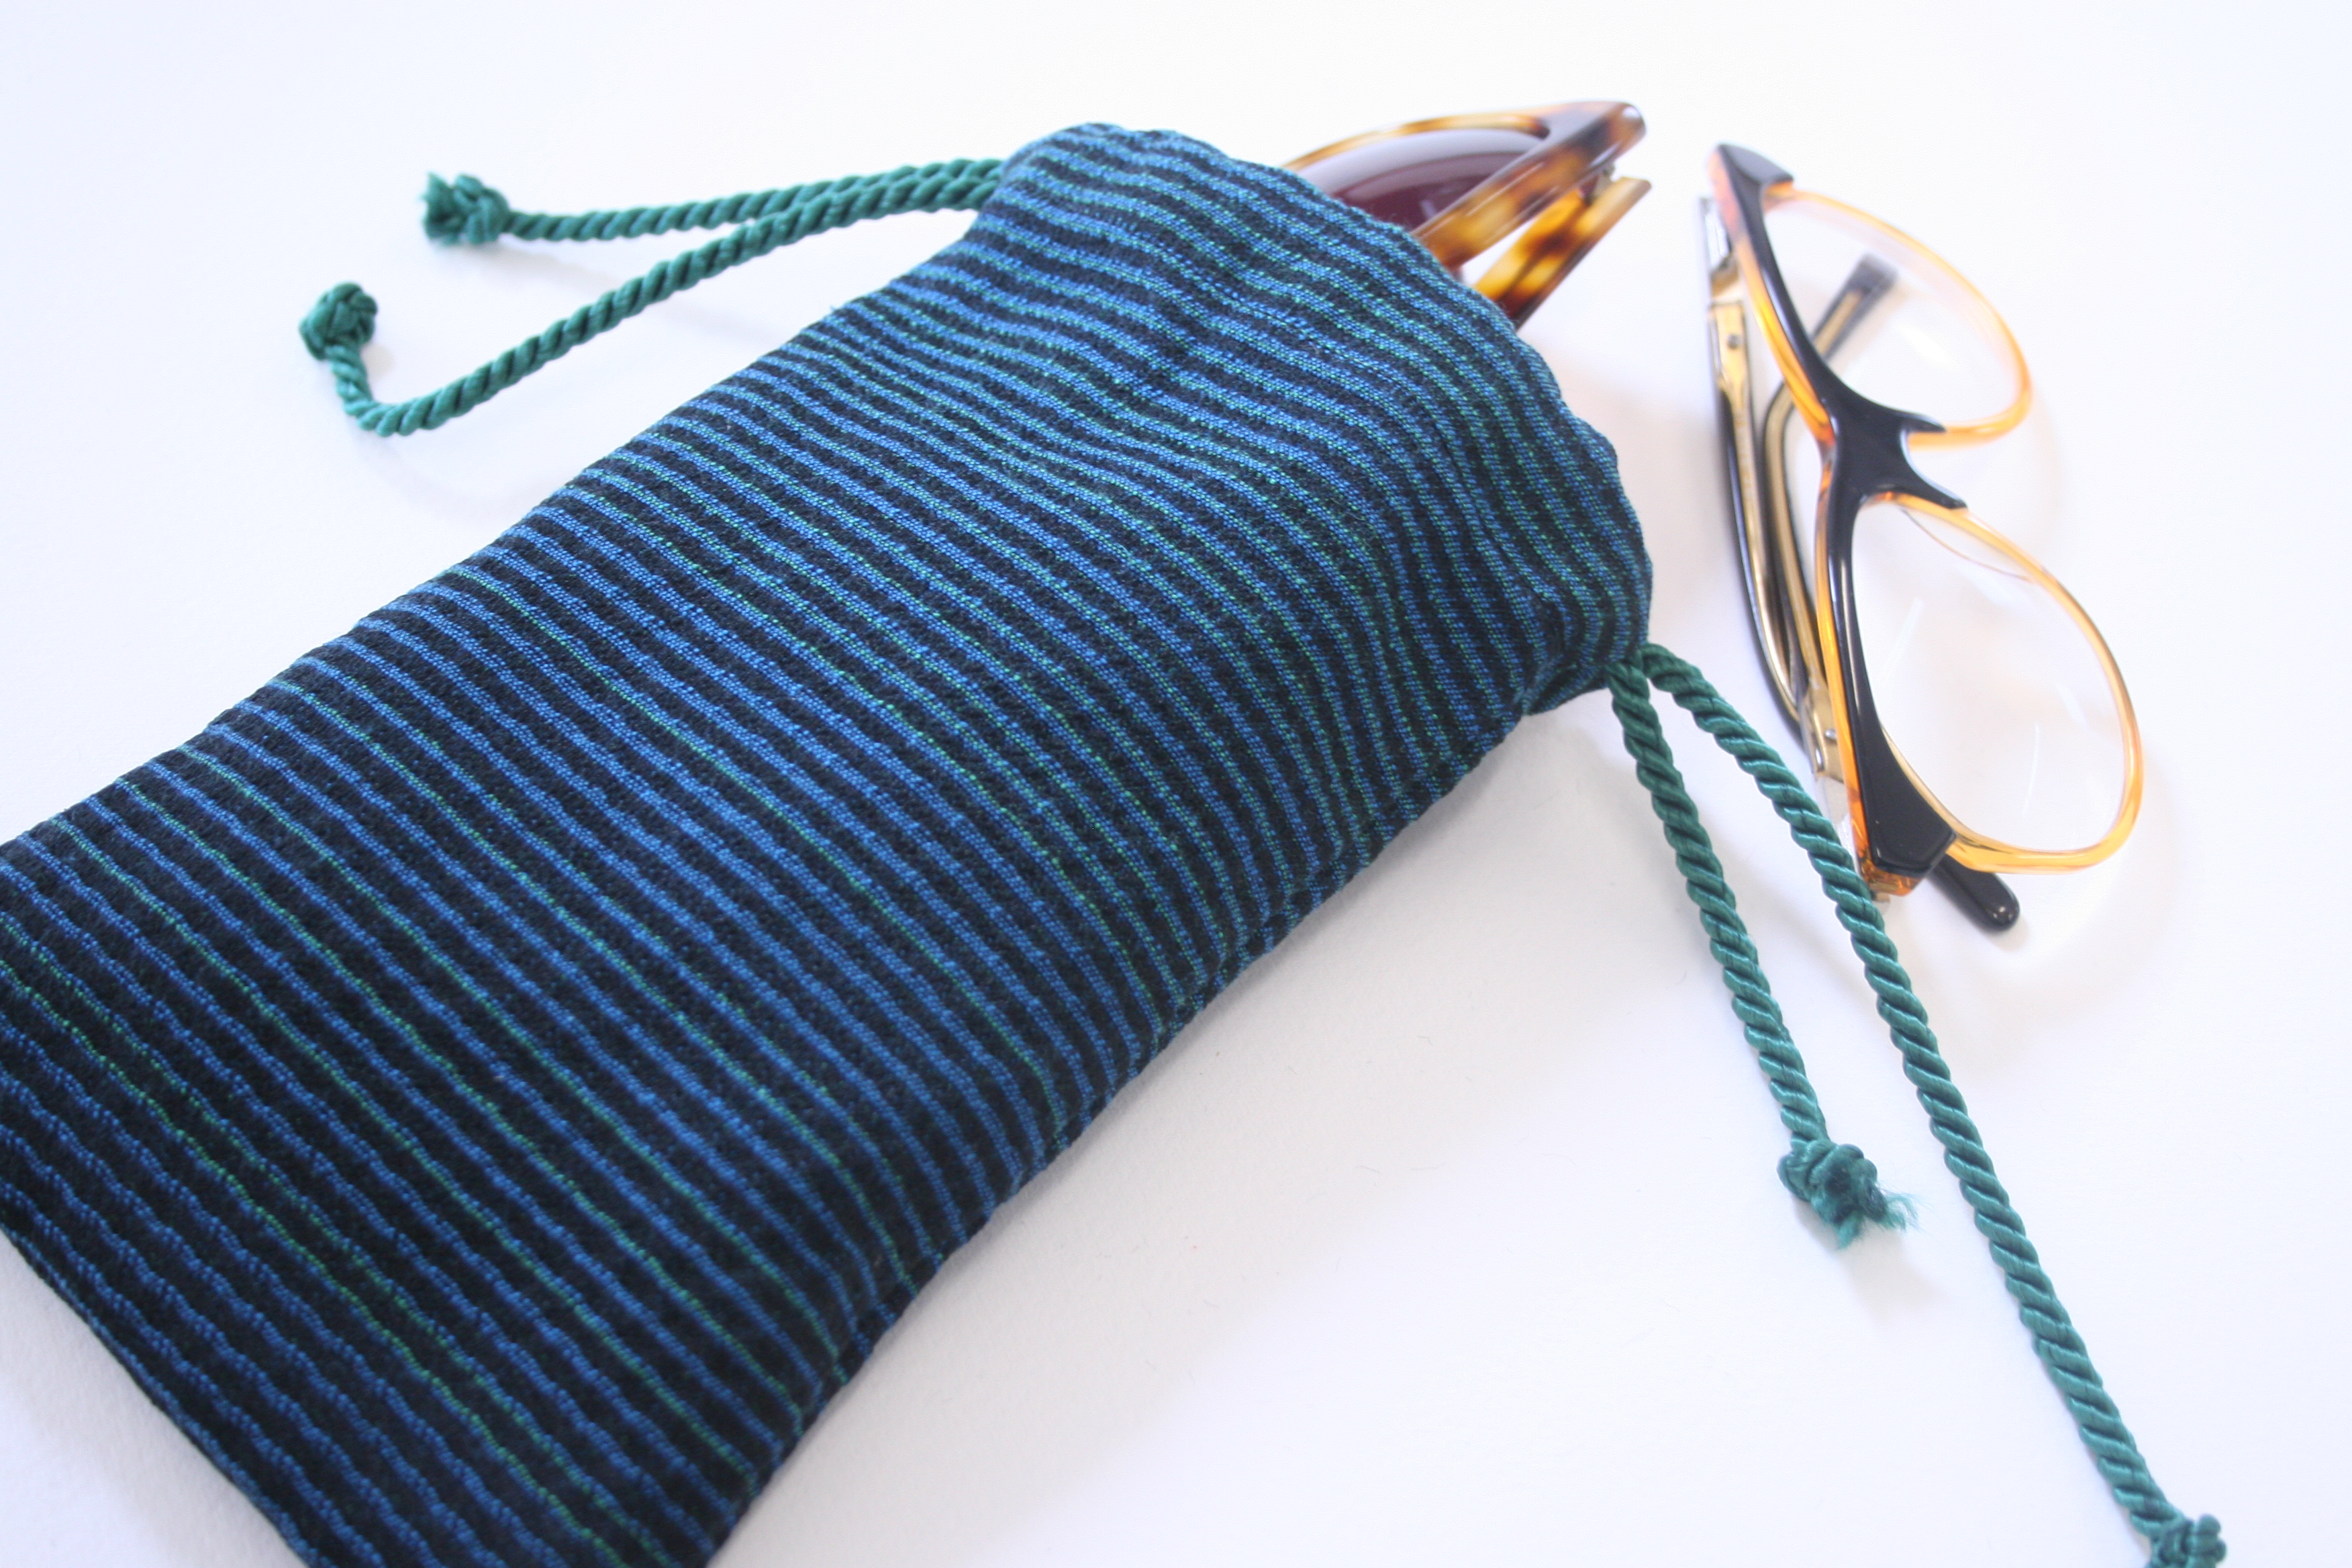
To make sunglass cases do the exact same thing, just use the measurements 10″x6″ with two 20″ ropes, and tie off the rope instead of sewing them into the seam. With 1 yard of fabric you could make 13 cases. Just think of all the holiday gifts you don’t have to buy.